JourneyTracker is an AI-powered browser extension designed to revolutionize the way users conduct and organize their research. This innovative tool streamlines the process of curating, organizing, and summarizing information from various online sources. By allowing users to record their knowledge journey, summarize content using AI, and track information across multiple tabs and windows, JourneyTracker enhances productivity and efficiency in research tasks.
JourneyTracker
Make your research easier by collecting, organizing, and summarizing information from many different sources with no hassle.
Introduction
Feature
AI-Powered Summarization
JourneyTracker utilizes advanced AI technology to summarize collected information, significantly reducing the time and effort required to process large volumes of data. This feature enables users to quickly grasp key points and insights from their research.
Curation and Organization Tools
The extension provides robust curation and organization capabilities, allowing users to efficiently manage information from diverse sources. This feature ensures easy access and reference to collected data, enhancing the overall research experience.
Grouping and Tagging System
JourneyTracker incorporates a comprehensive grouping and tagging system, enabling users to categorize and label their research effectively. This functionality facilitates quick retrieval of specific information and maintains a well-organized research structure.
Cross-Tab Information Tracking
The extension offers seamless tracking of information across multiple tabs and windows, ensuring that no valuable data is lost during extensive research sessions. This feature is particularly useful for users who often work with numerous sources simultaneously.
User-Friendly Installation and Configuration
JourneyTracker boasts a straightforward installation process through the Chrome Web Store, followed by an easy account setup and preference configuration. This simplicity allows users to quickly start benefiting from the extension's features.
Free Access
As a free extension, JourneyTracker provides all its powerful features without any subscription fees or usage limitations, making it accessible to a wide range of users.
FAQ
What are the primary use cases for JourneyTracker?
JourneyTracker is ideal for various research purposes, including:
- Academic paper writing
- Article composition
- Blog post creation
- General information gathering and organization
How can users maximize the benefits of JourneyTracker?
To get the most out of JourneyTracker:
- Utilize the grouping and tagging features to maintain a well-organized research structure
- Leverage the AI-powered summarization tool to quickly process large amounts of information
- Use the extension consistently across different research projects to build a comprehensive knowledge base
What sets JourneyTracker apart from other research tools?
JourneyTracker distinguishes itself through:
- AI-driven summarization capabilities
- Seamless cross-tab information tracking
- Comprehensive organization and tagging system
- Free access to all features without limitations
Is JourneyTracker compatible with browsers other than Chrome?
The provided information only mentions installation through the Chrome Web Store. For compatibility with other browsers, users should check the official JourneyTracker website or contact their support team for the most up-to-date information.
Latest Traffic Insights
Monthly Visits
193.90 M
Bounce Rate
56.27%
Pages Per Visit
2.71
Time on Site(s)
115.91
Global Rank
-
Country Rank
-
Recent Visits
Traffic Sources
- Social Media:0.48%
- Paid Referrals:0.55%
- Email:0.15%
- Referrals:12.81%
- Search Engines:16.21%
- Direct:69.81%
Related Websites
PI Prompts for ChatGPT, Gemini, Claude, Mistral, Groq & PI General Instructions: * Be specific: Clearly state what you want the AI to do. * Provide context: Give the AI enough information to understand your request. * Experiment: Try different prompts and see what works best. Creative Writing: * ChatGPT: Write a short story about a robot who learns to feel emotions. * Gemini: Compose a poem in the style of Emily Dickinson about the nature of time. * Claude: Create a fictional news article about a discovery on Mars. * Mistral: Generate a song lyric about the feeling of falling in love. * Groq: Write a screenplay for a 5-minute film about a lost dog finding its way home. * PI: Design a worldbuilding document for a fantasy novel, including its history, geography, and magic system. Informative Tasks: * ChatGPT: Summarize the main points of the article on climate change. * Gemini: Explain the concept of quantum mechanics in simple terms. * Claude: Compare and contrast the philosophies of Socrates and Plato. * Mistral: Create a list of 10 interesting facts about the human brain. * Groq: Write a code snippet to scrape data from a website. * PI: Generate a research proposal on the impact of social media on mental health. Code Generation: * ChatGPT: Write a Python function to calculate the factorial of a number. * Gemini: Generate HTML code for a simple webpage with a heading and a paragraph. * Claude: Create a SQL query to retrieve all customers from a database. * Mistral: Write a JavaScript function to validate an email address. * Groq: Generate code to create a new user account in a web application. * PI: Design a machine learning model to classify images of cats and dogs.
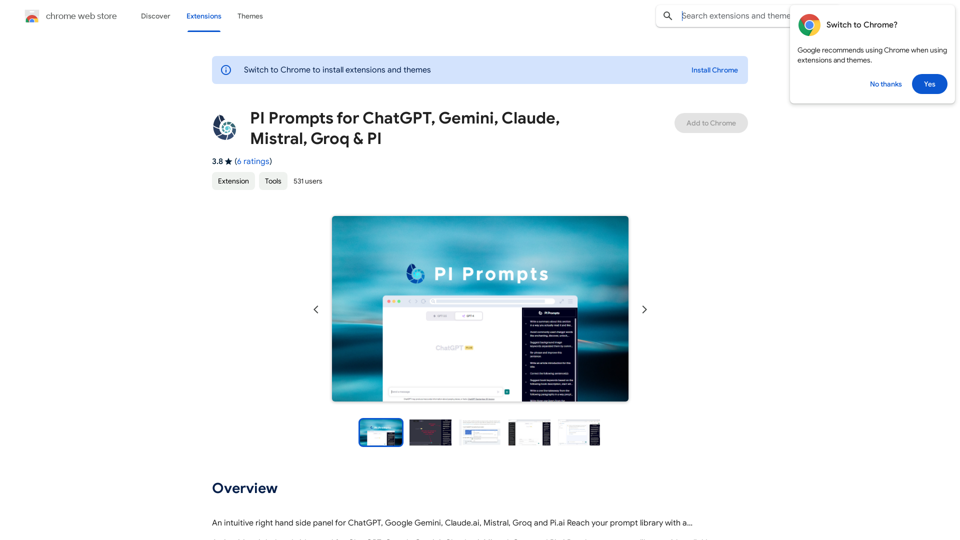
PI Prompts for ChatGPT, Gemini, Claude, Mistral, Groq & PI General Instructions: * Be specific: Clearly state what you want the AI to do. * Provide context: Give the AI enough information to understand your request. * Experiment: Try different prompts and see what works best. Creative Writing: * ChatGPT: Write a short story about a robot who learns to feel emotions. * Gemini: Compose a poem in the style of Emily Dickinson about the nature of time. * Claude: Create a fictional news article about a discovery on Mars. * Mistral: Generate a song lyric about the feeling of falling in love. * Groq: Write a screenplay for a 5-minute film about a lost dog finding its way home. * PI: Design a worldbuilding document for a fantasy novel, including its history, geography, and magic system. Informative Tasks: * ChatGPT: Summarize the main points of the article on climate change. * Gemini: Explain the concept of quantum mechanics in simple terms. * Claude: Compare and contrast the philosophies of Socrates and Plato. * Mistral: Create a list of 10 interesting facts about the human brain. * Groq: Write a code snippet to scrape data from a website. * PI: Generate a research proposal on the impact of social media on mental health. Code Generation: * ChatGPT: Write a Python function to calculate the factorial of a number. * Gemini: Generate HTML code for a simple webpage with a heading and a paragraph. * Claude: Create a SQL query to retrieve all customers from a database. * Mistral: Write a JavaScript function to validate an email address. * Groq: Generate code to create a new user account in a web application. * PI: Design a machine learning model to classify images of cats and dogs.An intuitive right-hand side panel for ChatGPT, Google Gemini, Claude.ai, Mistral, Groq, and Pi.ai. Reach your prompt library with a...
193.90 M

VidAu AI video generator creates high-quality videos for you with features such as avatar spokesperson, face swap, multi-language translation, subtitles, and watermarks removal, as well as video mixing and editing capabilities—get started for free.
684
BrrrWrite - Create Compelling Cold Emails Using AI
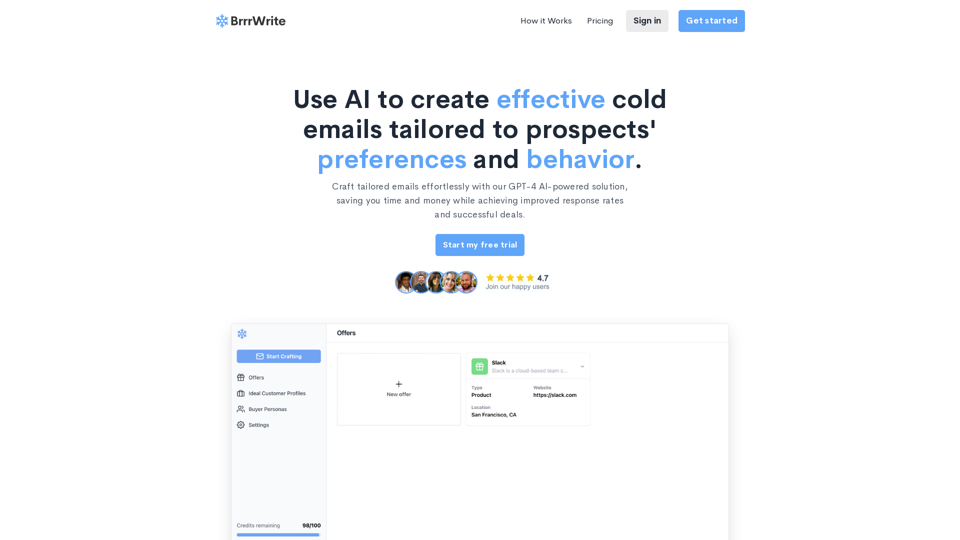
BrrrWrite - Create Compelling Cold Emails Using AICraft tailored emails effortlessly with our GPT-4 AI-powered solution, saving you time and money while achieving improved response rates and successful deals.
0
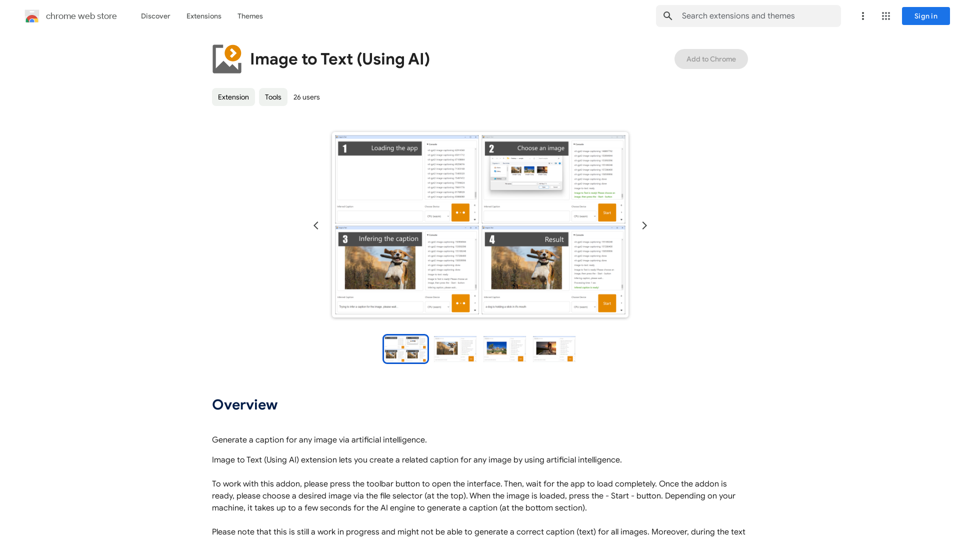
A vibrant sunset paints the sky in hues of orange, pink, and purple, casting long shadows across a tranquil lake.
193.90 M
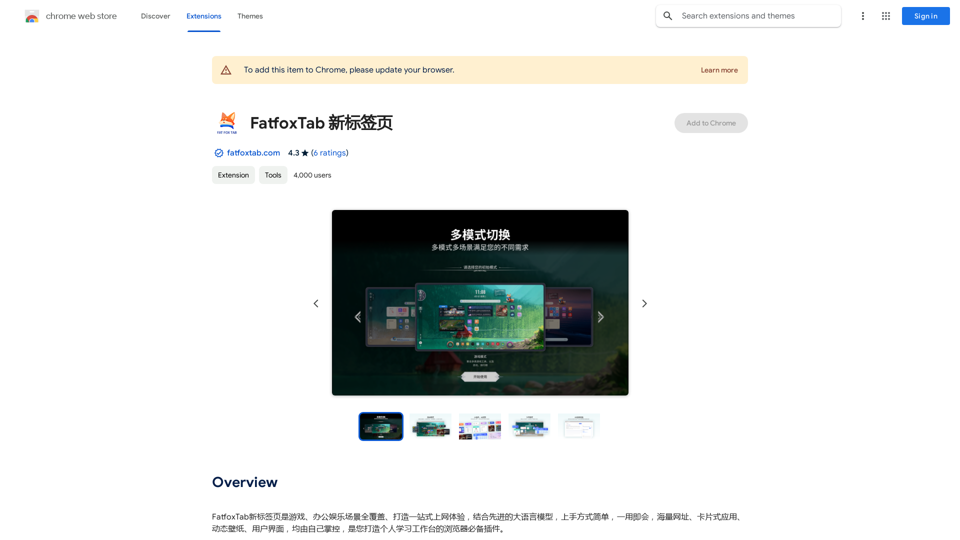
FatfoxTab, a new tab page, provides an all-around online experience covering gaming, office, and entertainment scenarios. With advanced language models, it's easy to get started and use, offering a vast array of websites, card-style apps, dynamic wallpapers, and a customizable user interface, all at your fingertips. It's a must-have browser plugin for building your personalized learning and working platform.
193.90 M

Lingban AI Assistant - GPT Chat, Web Translation, Bilingual Comparison, Intelligent Writing, AI Full-Network Search, AI Article Reading, Real-Time Internet Connection
Lingban AI Assistant - GPT Chat, Web Translation, Bilingual Comparison, Intelligent Writing, AI Full-Network Search, AI Article Reading, Real-Time Internet ConnectionLingban AI Assistant is your personal AI assistant on any webpage. It can help you translate various webpages, provide bilingual comparisons, offer creative inspiration, and answer your questions in chat conversations.
193.90 M
