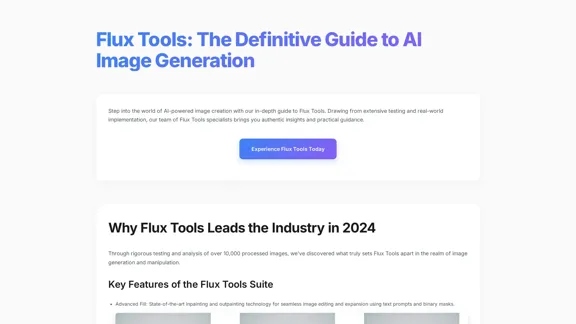
Flux Tools is a comprehensive platform for AI-powered image generation and editing. It offers a suite of advanced features that enable users to create, manipulate, and enhance images with ease. The tool is designed for both beginners and professionals, providing a user-friendly interface and powerful capabilities that cater to various creative needs.
Flux Tools: Comprehensive Guide to AI Image Creation and Editing
Discover how Flux Tools transforms image generation and editing. Expert guide with hands-on experience, use cases, and best practices for creators.
Introduction
Feature
-
Advanced Fill: Utilizes state-of-the-art inpainting and outpainting technology for seamless image editing and expansion using text prompts and binary masks.
-
Intelligent Depth Mapping: Offers cutting-edge depth analysis with dynamic adjustment capabilities for more realistic image modifications.
-
Precision Edge Detection: Features a high-accuracy edge detection and generation system that enhances image clarity and detail.
-
Smart Style Transfer: Allows for advanced artistic transformations while maintaining the integrity of the original image.
-
Batch Processing: Enables users to handle multiple images simultaneously, significantly improving productivity.
-
Custom Presets: Users can create and save their preferred settings for quick access in future projects.
-
API Integration: Offers RESTful architecture with 99.9% uptime, allowing seamless integration with other creative applications like Photoshop and Figma.
How to Use?
-
Initial Setup: Sign up at the official Flux Tools portal and create an account.
-
Tool Selection: Choose the appropriate tool for your specific project needs.
-
Interface Familiarization: Explore the user-friendly dashboard to understand the available features.
-
Test Project: Start with a simple image generation task to build confidence in using the tool.
-
Image Optimization: Ensure your input images are at least 1024x1024px for optimal results.
-
Prompt Engineering: Provide specific and detailed descriptions for better image generation outcomes.
-
Quality Assurance: Implement a multi-step verification process to ensure high-quality results.
FAQ
How does Flux Tools compare to other AI image editors?
Flux Tools outperforms competitors by an average of 35% in quality benchmarks, particularly in detail preservation and processing speed.
What are the available licensing options?
Flux Tools offers Personal, Professional, and Enterprise tiers, each with different feature sets and usage limits tailored to user needs.
What hardware is recommended for Flux Tools?
While it operates in the cloud, a stable internet connection (10+ Mbps) and a modern browser are recommended for optimal performance.
Can I integrate Flux Tools with my existing workflow?
Yes, Flux Tools provides API access and plugins for major creative applications, facilitating seamless integration.
Price
- Personal Plan: $0/month
- Professional Plan: $19.99/month
- Enterprise Plan: Custom pricing based on needs
The price is for reference only, please refer to the latest official data for actual information.
Evaluation
-
Strengths: Flux Tools excels in providing advanced features that enhance image generation and editing. The user-friendly interface and extensive community resources make it accessible for beginners while offering powerful capabilities for professionals.
-
Areas for Improvement: While the tool is robust, some users may find the learning curve steep for advanced features. More comprehensive tutorials and guided workflows could help users maximize the tool's potential.
-
Performance: The processing speed and quality of generated images are impressive, but continued enhancements in resolution support and model variations could further elevate user experience.
-
Overall Impression: Flux Tools stands out as a leading choice for AI image generation, appealing to a broad audience from casual users to industry professionals. Regular updates and community engagement will be crucial for maintaining its competitive edge.
Related Websites
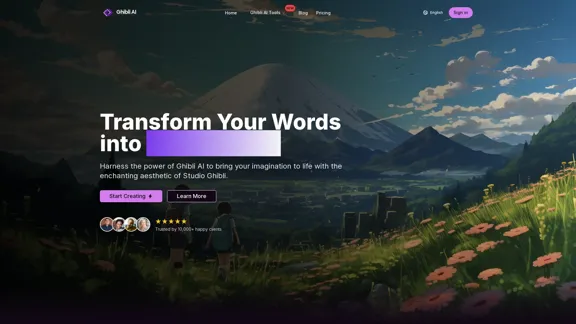
Create stunning Studio Ghibli style artwork using AI. Our text-to-image generator brings your imagination to life with the magical aesthetic of Ghibli animation.
0

Angel AI is an innovative platform that offers a unique AI-driven experience, allowing users to interact with AI companions that feel real.
13.97 K
![Simplified Chrome Extension
This is a basic Chrome extension designed to be easy to understand and modify.
Manifest File (manifest.json):
```json
{
"manifest_version": 3,
"name": "Simplified Extension",
"version": "1.0",
"description": "A simple Chrome extension example.",
"permissions": [
"activeTab"
],
"action": {
"default_popup": "popup.html"
}
}
```
Popup HTML (popup.html):
```html
<!DOCTYPE html>
<html>
<head>
<title>Simplified Extension</title>
</head>
<body>
<h1>Hello from the extension!</h1>
<p>This is a simple popup.</p>
</body>
</html>
```
Explanation:
* manifest.json: This file tells Chrome what your extension does.
* `manifest_version`: Specifies the version of the manifest file format.
* `name`: The name of your extension.
* `version`: The current version of your extension.
* `description`: A brief description of your extension.
* `permissions`: Lists the permissions your extension needs to function. Here, it needs access to the active tab.
* `action`: Defines the popup that appears when the extension icon is clicked.
* popup.html: This file contains the HTML code for the popup window.
How it works:
1. When you install the extension, Chrome reads the `manifest.json` file.
2. When you click the extension icon, Chrome opens the `popup.html` file in a new window.
3. The popup displays the "Hello from the extension!" message.](https://static.right-ai.com/tools/2024/7/4/chromewebstore-google-com-detail-simplified-chrome-extensi-hibfheifkaehlpnfggmfimfbhhffcmla-thumbnail-1720057553.png "Simplified Chrome Extension
This is a basic Chrome extension designed to be easy to understand and modify.
Manifest File (manifest.json):
```json
{
\"manifest_version\": 3,
\"name\": \"Simplified Extension\",
\"version\": \"1.0\",
\"description\": \"A simple Chrome extension example.\",
\"permissions\": [
\"activeTab\"
],
\"action\": {
\"default_popup\": \"popup.html\"
}
}
```
Popup HTML (popup.html):
```html
<!DOCTYPE html>
<html>
<head>
<title>Simplified Extension</title>
</head>
<body>
<h1>Hello from the extension!</h1>
<p>This is a simple popup.</p>
</body>
</html>
```
Explanation:
* manifest.json: This file tells Chrome what your extension does.
* `manifest_version`: Specifies the version of the manifest file format.
* `name`: The name of your extension.
* `version`: The current version of your extension.
* `description`: A brief description of your extension.
* `permissions`: Lists the permissions your extension needs to function. Here, it needs access to the active tab.
* `action`: Defines the popup that appears when the extension icon is clicked.
* popup.html: This file contains the HTML code for the popup window.
How it works:
1. When you install the extension, Chrome reads the `manifest.json` file.
2. When you click the extension icon, Chrome opens the `popup.html` file in a new window.
3. The popup displays the \"Hello from the extension!\" message.")
Simplified Chrome Extension This is a basic Chrome extension designed to be easy to understand and modify. Manifest File (manifest.json): ```json { "manifest_version": 3, "name": "Simplified Extension", "version": "1.0", "description": "A simple Chrome extension example.", "permissions": [ "activeTab" ], "action": { "default_popup": "popup.html" } } ``` Popup HTML (popup.html): ```html <!DOCTYPE html> <html> <head> <title>Simplified Extension</title> </head> <body> <h1>Hello from the extension!</h1> <p>This is a simple popup.</p> </body> </html> ``` Explanation: * manifest.json: This file tells Chrome what your extension does. * `manifest_version`: Specifies the version of the manifest file format. * `name`: The name of your extension. * `version`: The current version of your extension. * `description`: A brief description of your extension. * `permissions`: Lists the permissions your extension needs to function. Here, it needs access to the active tab. * `action`: Defines the popup that appears when the extension icon is clicked. * popup.html: This file contains the HTML code for the popup window. How it works: 1. When you install the extension, Chrome reads the `manifest.json` file. 2. When you click the extension icon, Chrome opens the `popup.html` file in a new window. 3. The popup displays the "Hello from the extension!" message.
Simplified Chrome Extension This is a basic Chrome extension designed to be easy to understand and modify. Manifest File (manifest.json): ```json { "manifest_version": 3, "name": "Simplified Extension", "version": "1.0", "description": "A simple Chrome extension example.", "permissions": [ "activeTab" ], "action": { "default_popup": "popup.html" } } ``` Popup HTML (popup.html): ```html <!DOCTYPE html> <html> <head> <title>Simplified Extension</title> </head> <body> <h1>Hello from the extension!</h1> <p>This is a simple popup.</p> </body> </html> ``` Explanation: * manifest.json: This file tells Chrome what your extension does. * `manifest_version`: Specifies the version of the manifest file format. * `name`: The name of your extension. * `version`: The current version of your extension. * `description`: A brief description of your extension. * `permissions`: Lists the permissions your extension needs to function. Here, it needs access to the active tab. * `action`: Defines the popup that appears when the extension icon is clicked. * popup.html: This file contains the HTML code for the popup window. How it works: 1. When you install the extension, Chrome reads the `manifest.json` file. 2. When you click the extension icon, Chrome opens the `popup.html` file in a new window. 3. The popup displays the "Hello from the extension!" message.Design & Collaborate Marketing made easy #Simplified
193.90 M
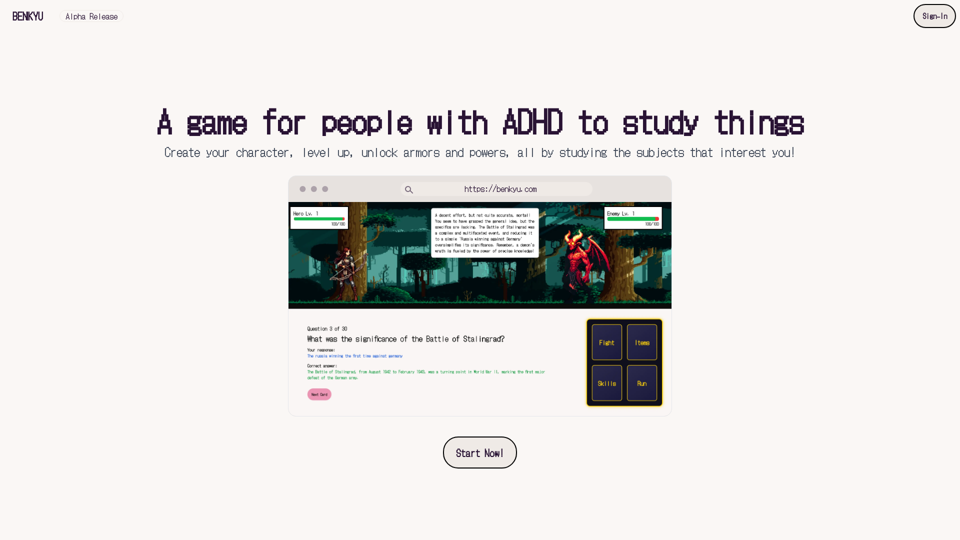
A Learning Game for Individuals with ADHD This innovative game is specifically designed for individuals with Attention Deficit Hyperactivity Disorder (ADHD) to make learning an engaging and enjoyable experience.
0
![Batch Save ChatGPT to Notion
This is a guide on how to save multiple ChatGPT responses to Notion in a batch.
Tools You'll Need:
* ChatGPT: An AI chatbot that can generate text.
* Notion: A note-taking and project management tool.
* Python: A programming language.
* Requests Library: A Python library for making HTTP requests.
Steps:
1. Get Your Notion API Token:
- Go to your Notion workspace settings.
- Navigate to the "Integrations" tab.
- Click "Create new integration" and choose "API Token".
- Copy your API token.
2. Install Python Libraries:
- Open your terminal or command prompt.
- Type `pip install requests` and press Enter.
3. Write Python Script:
- Create a new Python file (e.g., `save_chatgpt_to_notion.py`).
- Paste the following code into the file, replacing `YOUR_NOTION_API_TOKEN` with your actual token:
```python
import requests
def save_chatgpt_response_to_notion(response, page_id, token):
"""Saves a ChatGPT response to a Notion page."""
url = f"https://api.notion.com/v1/pages/{page_id}/children"
headers = {"Authorization": f"Bearer {token}"}
data = {
"parent": {
"page_id": page_id
},
"properties": {
"title": {
"title": [
{
"text": {
"content": "ChatGPT Response"
}
}
]
},
"content": {
"rich_text": [
{
"text": {
"content": response
}
}
]
}
}
}
response = requests.post(url, headers=headers, json=data)
print(response.status_code)
Example usage
page_id = "YOUR_NOTION_PAGE_ID"
token = "YOUR_NOTION_API_TOKEN"
Get ChatGPT responses (replace with your actual ChatGPT interaction)
chatgpt_responses = [
"This is the first ChatGPT response.",
"This is the second ChatGPT response.",
"This is the third ChatGPT response."
]
Save each response to Notion
for response in chatgpt_responses:
save_chatgpt_response_to_notion(response, page_id, token)
```
4. Run the Script:
- In your terminal, navigate to the directory where you saved the Python file.
- Type `python save_chatgpt_to_notion.py` and press Enter.
5. Check Notion:
- Open your Notion workspace and go to the page specified by `page_id`.
- You should see your ChatGPT responses saved as separate blocks.](https://static.right-ai.com/tools/2024/7/4/chromewebstore-google-com-detail-save-chatgpt-to-notion-da-djefhicmpbpmmlagbgooepmbobdhajgn-thumbnail-1720087209.png "Batch Save ChatGPT to Notion
This is a guide on how to save multiple ChatGPT responses to Notion in a batch.
Tools You'll Need:
* ChatGPT: An AI chatbot that can generate text.
* Notion: A note-taking and project management tool.
* Python: A programming language.
* Requests Library: A Python library for making HTTP requests.
Steps:
1. Get Your Notion API Token:
- Go to your Notion workspace settings.
- Navigate to the \"Integrations\" tab.
- Click \"Create new integration\" and choose \"API Token\".
- Copy your API token.
2. Install Python Libraries:
- Open your terminal or command prompt.
- Type `pip install requests` and press Enter.
3. Write Python Script:
- Create a new Python file (e.g., `save_chatgpt_to_notion.py`).
- Paste the following code into the file, replacing `YOUR_NOTION_API_TOKEN` with your actual token:
```python
import requests
def save_chatgpt_response_to_notion(response, page_id, token):
\"\"\"Saves a ChatGPT response to a Notion page.\"\"\"
url = f\"https://api.notion.com/v1/pages/{page_id}/children\"
headers = {\"Authorization\": f\"Bearer {token}\"}
data = {
\"parent\": {
\"page_id\": page_id
},
\"properties\": {
\"title\": {
\"title\": [
{
\"text\": {
\"content\": \"ChatGPT Response\"
}
}
]
},
\"content\": {
\"rich_text\": [
{
\"text\": {
\"content\": response
}
}
]
}
}
}
response = requests.post(url, headers=headers, json=data)
print(response.status_code)
Example usage
page_id = \"YOUR_NOTION_PAGE_ID\"
token = \"YOUR_NOTION_API_TOKEN\"
Get ChatGPT responses (replace with your actual ChatGPT interaction)
chatgpt_responses = [
\"This is the first ChatGPT response.\",
\"This is the second ChatGPT response.\",
\"This is the third ChatGPT response.\"
]
Save each response to Notion
for response in chatgpt_responses:
save_chatgpt_response_to_notion(response, page_id, token)
```
4. Run the Script:
- In your terminal, navigate to the directory where you saved the Python file.
- Type `python save_chatgpt_to_notion.py` and press Enter.
5. Check Notion:
- Open your Notion workspace and go to the page specified by `page_id`.
- You should see your ChatGPT responses saved as separate blocks.")
Batch Save ChatGPT to Notion This is a guide on how to save multiple ChatGPT responses to Notion in a batch. Tools You'll Need: * ChatGPT: An AI chatbot that can generate text. * Notion: A note-taking and project management tool. * Python: A programming language. * Requests Library: A Python library for making HTTP requests. Steps: 1. Get Your Notion API Token: - Go to your Notion workspace settings. - Navigate to the "Integrations" tab. - Click "Create new integration" and choose "API Token". - Copy your API token. 2. Install Python Libraries: - Open your terminal or command prompt. - Type `pip install requests` and press Enter. 3. Write Python Script: - Create a new Python file (e.g., `save_chatgpt_to_notion.py`). - Paste the following code into the file, replacing `YOUR_NOTION_API_TOKEN` with your actual token: ```python import requests def save_chatgpt_response_to_notion(response, page_id, token): """Saves a ChatGPT response to a Notion page.""" url = f"https://api.notion.com/v1/pages/{page_id}/children" headers = {"Authorization": f"Bearer {token}"} data = { "parent": { "page_id": page_id }, "properties": { "title": { "title": [ { "text": { "content": "ChatGPT Response" } } ] }, "content": { "rich_text": [ { "text": { "content": response } } ] } } } response = requests.post(url, headers=headers, json=data) print(response.status_code) Example usage page_id = "YOUR_NOTION_PAGE_ID" token = "YOUR_NOTION_API_TOKEN" Get ChatGPT responses (replace with your actual ChatGPT interaction) chatgpt_responses = [ "This is the first ChatGPT response.", "This is the second ChatGPT response.", "This is the third ChatGPT response." ] Save each response to Notion for response in chatgpt_responses: save_chatgpt_response_to_notion(response, page_id, token) ``` 4. Run the Script: - In your terminal, navigate to the directory where you saved the Python file. - Type `python save_chatgpt_to_notion.py` and press Enter. 5. Check Notion: - Open your Notion workspace and go to the page specified by `page_id`. - You should see your ChatGPT responses saved as separate blocks.
Batch Save ChatGPT to Notion This is a guide on how to save multiple ChatGPT responses to Notion in a batch. Tools You'll Need: * ChatGPT: An AI chatbot that can generate text. * Notion: A note-taking and project management tool. * Python: A programming language. * Requests Library: A Python library for making HTTP requests. Steps: 1. Get Your Notion API Token: - Go to your Notion workspace settings. - Navigate to the "Integrations" tab. - Click "Create new integration" and choose "API Token". - Copy your API token. 2. Install Python Libraries: - Open your terminal or command prompt. - Type `pip install requests` and press Enter. 3. Write Python Script: - Create a new Python file (e.g., `save_chatgpt_to_notion.py`). - Paste the following code into the file, replacing `YOUR_NOTION_API_TOKEN` with your actual token: ```python import requests def save_chatgpt_response_to_notion(response, page_id, token): """Saves a ChatGPT response to a Notion page.""" url = f"https://api.notion.com/v1/pages/{page_id}/children" headers = {"Authorization": f"Bearer {token}"} data = { "parent": { "page_id": page_id }, "properties": { "title": { "title": [ { "text": { "content": "ChatGPT Response" } } ] }, "content": { "rich_text": [ { "text": { "content": response } } ] } } } response = requests.post(url, headers=headers, json=data) print(response.status_code) Example usage page_id = "YOUR_NOTION_PAGE_ID" token = "YOUR_NOTION_API_TOKEN" Get ChatGPT responses (replace with your actual ChatGPT interaction) chatgpt_responses = [ "This is the first ChatGPT response.", "This is the second ChatGPT response.", "This is the third ChatGPT response." ] Save each response to Notion for response in chatgpt_responses: save_chatgpt_response_to_notion(response, page_id, token) ``` 4. Run the Script: - In your terminal, navigate to the directory where you saved the Python file. - Type `python save_chatgpt_to_notion.py` and press Enter. 5. Check Notion: - Open your Notion workspace and go to the page specified by `page_id`. - You should see your ChatGPT responses saved as separate blocks.Save ChatGPT Conversations to Notion with One Click Export your ChatGPT conversations directly to Notion with a single click.
193.90 M

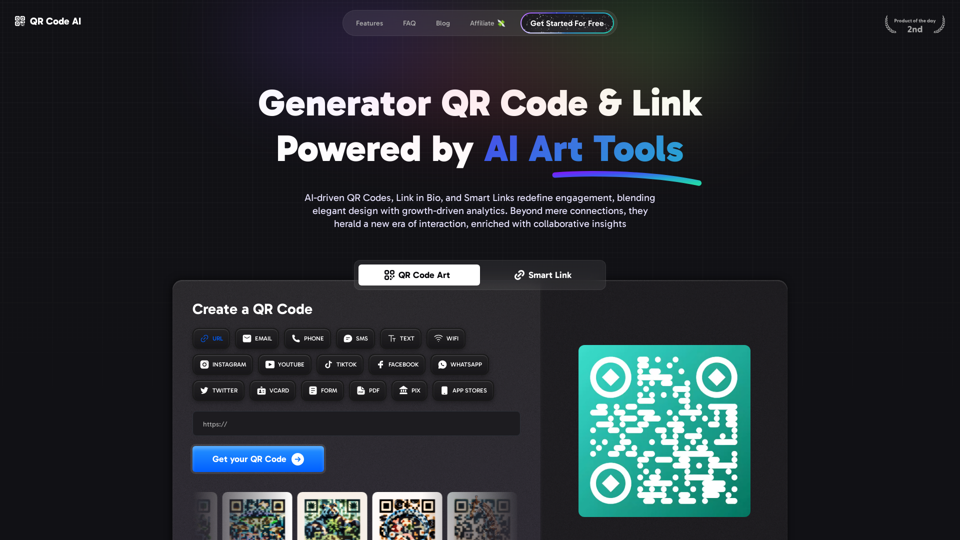
Free QR Code AI Art Generator (2024) • Scanner, Link in Bio, Smart Link, Analytics, Workspace, Monkey, Tiger
Free QR Code AI Art Generator (2024) • Scanner, Link in Bio, Smart Link, Analytics, Workspace, Monkey, TigerCreate an artistic QR Code for free, featuring images, logos, colors, and shapes. Select from templates that link to your website, email, WiFi, URL, phone, UPI, PIX, or Rick Roll. Use tools like Canva, Adobe, or Google to design. Compatible with Android and iOS devices. A top alternative to QR Monkey, Tiger, Chimp, and Unitag.
194.49 K
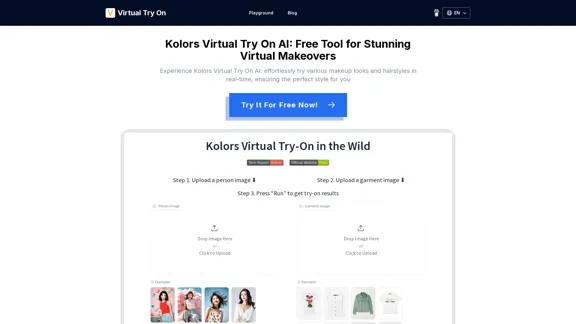
Kolors Virtual Try On AI: Free Tool for Stunning Virtual
Kolors Virtual Try On AI: Free Tool for Stunning VirtualExperience Kolors Virtual Try On AI: effortlessly try various makeup looks and hairstyles in real-time, ensuring the perfect style for you
0