AutoJourney is a Chrome extension designed to streamline and automate the process of using Midjourney, an AI-powered image generation tool. This extension offers features such as batch prompt sending, automatic queuing, upscaling, and downloading of generated images. AutoJourney aims to enhance efficiency and save time for users working with Midjourney, making the image generation process more convenient and productive.
AutoJourney - Automatically Send Midjourney Prompts
Midjourney Efficiency Plugin: Batch Sending Prompts, Automatic Queuing, Repeat in Relax Mode, and Automatic Upscale/Download Image
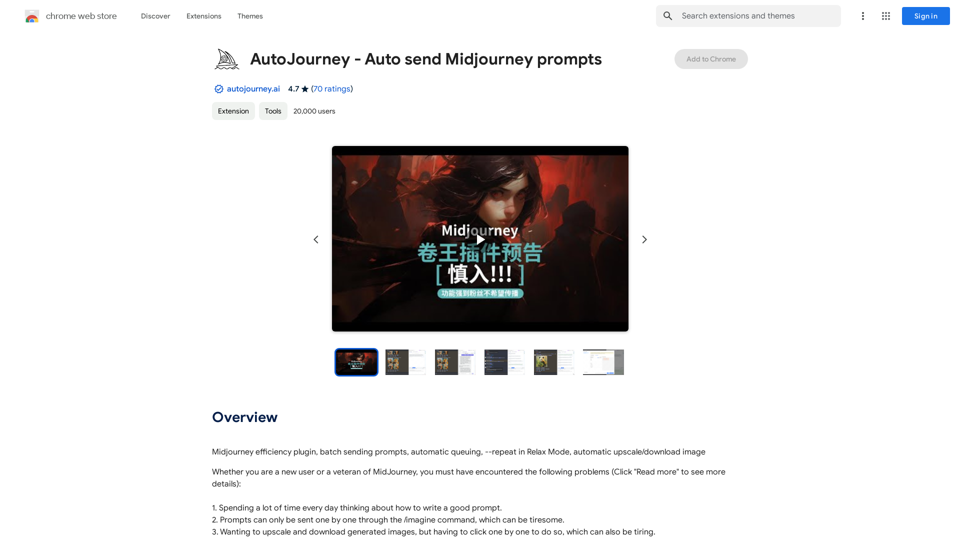
Introduction
Feature
Batch Sending
Send multiple prompts simultaneously, significantly reducing time and effort in the image generation process.
Automatic Queuing
Eliminates the need to wait for individual image generation by automatically queuing prompts.
Automatic Upscaling
Enables users to obtain high-quality images with a single click, enhancing the output resolution effortlessly.
Automatic Downloading
Simplifies the image saving process by automatically downloading generated images without manual intervention.
Relax Mode
Allows for automatic repetition of prompts, effectively bypassing task limits and optimizing time and cost efficiency.
Free to Use
AutoJourney is available as a free Chrome extension, with no subscription fees or hidden costs.
Easy Installation and Configuration
Users can easily install AutoJourney from the Chrome Web Store and configure it to their preferences, including Midjourney account and API key setup.
FAQ
Is AutoJourney compatible with other AI image generation tools?
No, AutoJourney is specifically designed for use with Midjourney and is not compatible with other AI-powered image generation tools.
How can I get started with AutoJourney?
To start using AutoJourney:
- Install the extension from the Chrome Web Store
- Configure the extension according to your preferences
- Set up your Midjourney account and API key
- Begin using the extension to automate your Midjourney workflow
What are some tips for using AutoJourney effectively?
- Utilize AutoJourney to streamline your Midjourney workflow and save time
- Experiment with various prompts and settings to achieve optimal results
- Take advantage of the Relax Mode feature to automatically repeat prompts
Related Websites
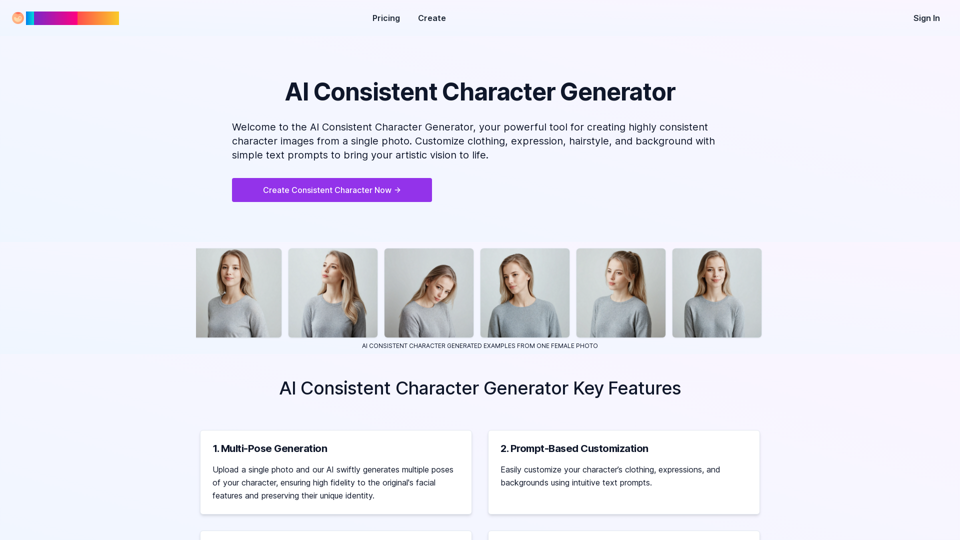
Create a Consistent Character Across Different Looks! Imagine this: * Your character rocking a cool new outfit. * Your character with a fresh hairstyle. * Your character in a variety of exciting backgrounds. But... * They always look like *themselves*. * Their personality shines through, no matter the change. That's where a Consistent Character Generator comes in! This powerful tool lets you: * Generate variations of your character with different: * Poses * Clothing * Hairstyles * Backgrounds * Maintain consistency in your character's appearance and essence. Say goodbye to: * Inconsistent character designs that break immersion. * Spending hours tweaking details to keep your character recognizable. Say hello to: * A library of diverse character variations, all true to your vision. * Effortless character customization for your projects.
Create a Consistent Character Across Different Looks! Imagine this: * Your character rocking a cool new outfit. * Your character with a fresh hairstyle. * Your character in a variety of exciting backgrounds. But... * They always look like *themselves*. * Their personality shines through, no matter the change. That's where a Consistent Character Generator comes in! This powerful tool lets you: * Generate variations of your character with different: * Poses * Clothing * Hairstyles * Backgrounds * Maintain consistency in your character's appearance and essence. Say goodbye to: * Inconsistent character designs that break immersion. * Spending hours tweaking details to keep your character recognizable. Say hello to: * A library of diverse character variations, all true to your vision. * Effortless character customization for your projects.Unlock your creative potential with the AI Consistent Character Generator. Effortlessly generate, customize, and transform characters with consistent features for photography, gaming, art, and more. Start your creative journey today!
37.98 K
![Batch Save ChatGPT to Notion
This is a guide on how to save multiple ChatGPT responses to Notion in a batch.
Tools You'll Need:
* ChatGPT: An AI chatbot that can generate text.
* Notion: A note-taking and project management tool.
* Python: A programming language.
* Requests Library: A Python library for making HTTP requests.
Steps:
1. Get Your Notion API Token:
- Go to your Notion workspace settings.
- Navigate to the "Integrations" tab.
- Click "Create new integration" and choose "API Token".
- Copy your API token.
2. Install Python Libraries:
- Open your terminal or command prompt.
- Type `pip install requests` and press Enter.
3. Write Python Script:
- Create a new Python file (e.g., `save_chatgpt_to_notion.py`).
- Paste the following code into the file, replacing `YOUR_NOTION_API_TOKEN` with your actual token:
```python
import requests
def save_chatgpt_response_to_notion(response, page_id, token):
"""Saves a ChatGPT response to a Notion page."""
url = f"https://api.notion.com/v1/pages/{page_id}/children"
headers = {"Authorization": f"Bearer {token}"}
data = {
"parent": {
"page_id": page_id
},
"properties": {
"title": {
"title": [
{
"text": {
"content": "ChatGPT Response"
}
}
]
},
"content": {
"rich_text": [
{
"text": {
"content": response
}
}
]
}
}
}
response = requests.post(url, headers=headers, json=data)
print(response.status_code)
Example usage
page_id = "YOUR_NOTION_PAGE_ID"
token = "YOUR_NOTION_API_TOKEN"
Get ChatGPT responses (replace with your actual ChatGPT interaction)
chatgpt_responses = [
"This is the first ChatGPT response.",
"This is the second ChatGPT response.",
"This is the third ChatGPT response."
]
Save each response to Notion
for response in chatgpt_responses:
save_chatgpt_response_to_notion(response, page_id, token)
```
4. Run the Script:
- In your terminal, navigate to the directory where you saved the Python file.
- Type `python save_chatgpt_to_notion.py` and press Enter.
5. Check Notion:
- Open your Notion workspace and go to the page specified by `page_id`.
- You should see your ChatGPT responses saved as separate blocks.](https://static.right-ai.com/tools/2024/7/4/chromewebstore-google-com-detail-save-chatgpt-to-notion-da-djefhicmpbpmmlagbgooepmbobdhajgn-thumbnail-1720087209.png "Batch Save ChatGPT to Notion
This is a guide on how to save multiple ChatGPT responses to Notion in a batch.
Tools You'll Need:
* ChatGPT: An AI chatbot that can generate text.
* Notion: A note-taking and project management tool.
* Python: A programming language.
* Requests Library: A Python library for making HTTP requests.
Steps:
1. Get Your Notion API Token:
- Go to your Notion workspace settings.
- Navigate to the \"Integrations\" tab.
- Click \"Create new integration\" and choose \"API Token\".
- Copy your API token.
2. Install Python Libraries:
- Open your terminal or command prompt.
- Type `pip install requests` and press Enter.
3. Write Python Script:
- Create a new Python file (e.g., `save_chatgpt_to_notion.py`).
- Paste the following code into the file, replacing `YOUR_NOTION_API_TOKEN` with your actual token:
```python
import requests
def save_chatgpt_response_to_notion(response, page_id, token):
\"\"\"Saves a ChatGPT response to a Notion page.\"\"\"
url = f\"https://api.notion.com/v1/pages/{page_id}/children\"
headers = {\"Authorization\": f\"Bearer {token}\"}
data = {
\"parent\": {
\"page_id\": page_id
},
\"properties\": {
\"title\": {
\"title\": [
{
\"text\": {
\"content\": \"ChatGPT Response\"
}
}
]
},
\"content\": {
\"rich_text\": [
{
\"text\": {
\"content\": response
}
}
]
}
}
}
response = requests.post(url, headers=headers, json=data)
print(response.status_code)
Example usage
page_id = \"YOUR_NOTION_PAGE_ID\"
token = \"YOUR_NOTION_API_TOKEN\"
Get ChatGPT responses (replace with your actual ChatGPT interaction)
chatgpt_responses = [
\"This is the first ChatGPT response.\",
\"This is the second ChatGPT response.\",
\"This is the third ChatGPT response.\"
]
Save each response to Notion
for response in chatgpt_responses:
save_chatgpt_response_to_notion(response, page_id, token)
```
4. Run the Script:
- In your terminal, navigate to the directory where you saved the Python file.
- Type `python save_chatgpt_to_notion.py` and press Enter.
5. Check Notion:
- Open your Notion workspace and go to the page specified by `page_id`.
- You should see your ChatGPT responses saved as separate blocks.")
Batch Save ChatGPT to Notion This is a guide on how to save multiple ChatGPT responses to Notion in a batch. Tools You'll Need: * ChatGPT: An AI chatbot that can generate text. * Notion: A note-taking and project management tool. * Python: A programming language. * Requests Library: A Python library for making HTTP requests. Steps: 1. Get Your Notion API Token: - Go to your Notion workspace settings. - Navigate to the "Integrations" tab. - Click "Create new integration" and choose "API Token". - Copy your API token. 2. Install Python Libraries: - Open your terminal or command prompt. - Type `pip install requests` and press Enter. 3. Write Python Script: - Create a new Python file (e.g., `save_chatgpt_to_notion.py`). - Paste the following code into the file, replacing `YOUR_NOTION_API_TOKEN` with your actual token: ```python import requests def save_chatgpt_response_to_notion(response, page_id, token): """Saves a ChatGPT response to a Notion page.""" url = f"https://api.notion.com/v1/pages/{page_id}/children" headers = {"Authorization": f"Bearer {token}"} data = { "parent": { "page_id": page_id }, "properties": { "title": { "title": [ { "text": { "content": "ChatGPT Response" } } ] }, "content": { "rich_text": [ { "text": { "content": response } } ] } } } response = requests.post(url, headers=headers, json=data) print(response.status_code) Example usage page_id = "YOUR_NOTION_PAGE_ID" token = "YOUR_NOTION_API_TOKEN" Get ChatGPT responses (replace with your actual ChatGPT interaction) chatgpt_responses = [ "This is the first ChatGPT response.", "This is the second ChatGPT response.", "This is the third ChatGPT response." ] Save each response to Notion for response in chatgpt_responses: save_chatgpt_response_to_notion(response, page_id, token) ``` 4. Run the Script: - In your terminal, navigate to the directory where you saved the Python file. - Type `python save_chatgpt_to_notion.py` and press Enter. 5. Check Notion: - Open your Notion workspace and go to the page specified by `page_id`. - You should see your ChatGPT responses saved as separate blocks.
Batch Save ChatGPT to Notion This is a guide on how to save multiple ChatGPT responses to Notion in a batch. Tools You'll Need: * ChatGPT: An AI chatbot that can generate text. * Notion: A note-taking and project management tool. * Python: A programming language. * Requests Library: A Python library for making HTTP requests. Steps: 1. Get Your Notion API Token: - Go to your Notion workspace settings. - Navigate to the "Integrations" tab. - Click "Create new integration" and choose "API Token". - Copy your API token. 2. Install Python Libraries: - Open your terminal or command prompt. - Type `pip install requests` and press Enter. 3. Write Python Script: - Create a new Python file (e.g., `save_chatgpt_to_notion.py`). - Paste the following code into the file, replacing `YOUR_NOTION_API_TOKEN` with your actual token: ```python import requests def save_chatgpt_response_to_notion(response, page_id, token): """Saves a ChatGPT response to a Notion page.""" url = f"https://api.notion.com/v1/pages/{page_id}/children" headers = {"Authorization": f"Bearer {token}"} data = { "parent": { "page_id": page_id }, "properties": { "title": { "title": [ { "text": { "content": "ChatGPT Response" } } ] }, "content": { "rich_text": [ { "text": { "content": response } } ] } } } response = requests.post(url, headers=headers, json=data) print(response.status_code) Example usage page_id = "YOUR_NOTION_PAGE_ID" token = "YOUR_NOTION_API_TOKEN" Get ChatGPT responses (replace with your actual ChatGPT interaction) chatgpt_responses = [ "This is the first ChatGPT response.", "This is the second ChatGPT response.", "This is the third ChatGPT response." ] Save each response to Notion for response in chatgpt_responses: save_chatgpt_response_to_notion(response, page_id, token) ``` 4. Run the Script: - In your terminal, navigate to the directory where you saved the Python file. - Type `python save_chatgpt_to_notion.py` and press Enter. 5. Check Notion: - Open your Notion workspace and go to the page specified by `page_id`. - You should see your ChatGPT responses saved as separate blocks.Save ChatGPT Conversations to Notion with One Click Export your ChatGPT conversations directly to Notion with a single click.
193.90 M
AI Art Generator | AI Image Generator - Jasper Art
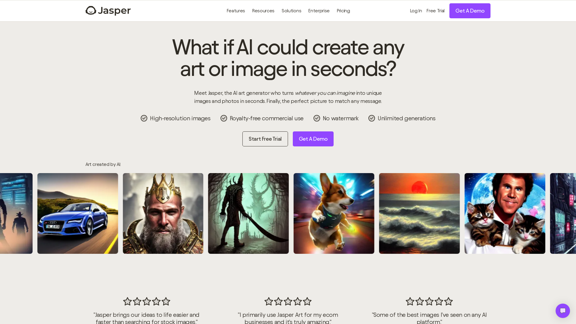
AI Art Generator | AI Image Generator - Jasper ArtJasper Art is a new AI art generator that transforms your text prompt into stunning art and lifelike AI-generated images within seconds. Your AI artist produces the ideal picture to complement your message.
939.36 K
FluxImage | Free Flux AI Image Generator with Flux.1 Models
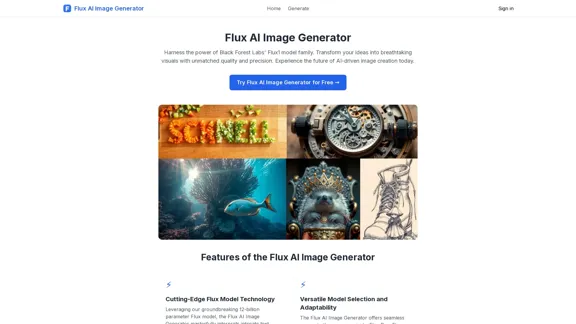
FluxImage | Free Flux AI Image Generator with Flux.1 ModelsFlux AI is a state-of-the-art text-to-image Flux.1 AI model created by Black Forest Labs. It includes Flux.1 Pro, Flux.1 Dev, and Flux.1 Schnell versions.
0
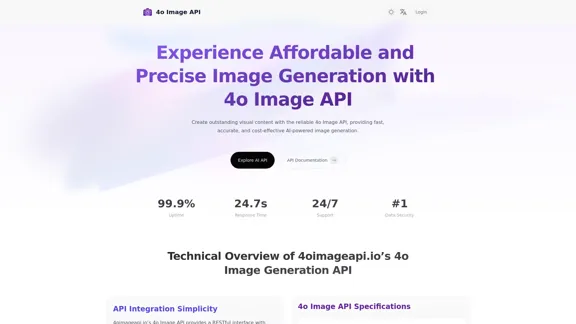
4o Image API: Affordable, Stable, and Versatile AI Image Generation
4o Image API: Affordable, Stable, and Versatile AI Image Generation4oimageapi.io’s 4o Image API provides affordable, stable, and accurate AI image generation, allowing creators to easily produce high-quality visuals. With features such as text-to-image and image-to-image transformations, along with a variety of artistic styles, it offers dependable and effective tools for creative projects.
0
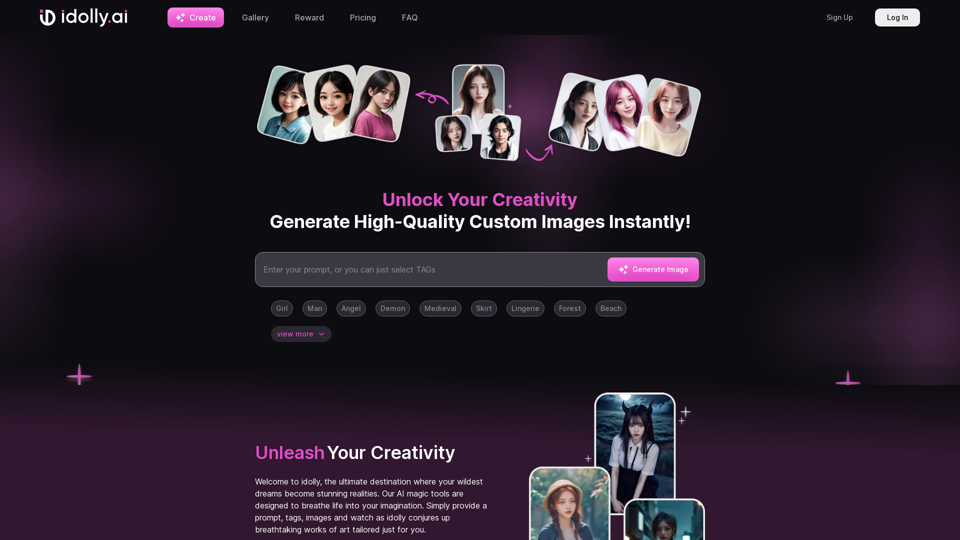
Explore idolly.ai, where imagination meets AI image creation and BlockChain. Create stunning visuals with ease using our Face Transfer and Mood Fusion technology.
9.70 K
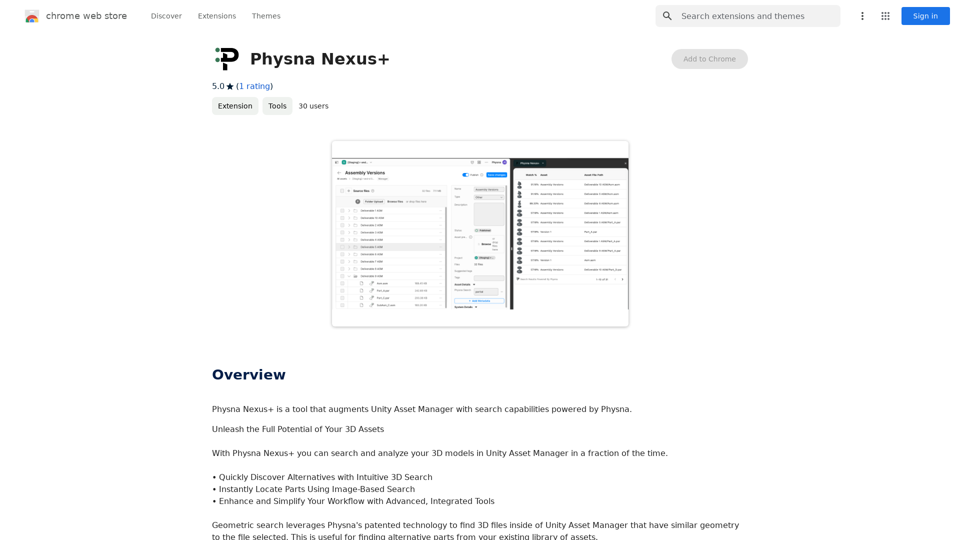
Physna Nexus+ is a tool that improves Unity Asset Manager by adding search features powered by Physna.
193.90 M
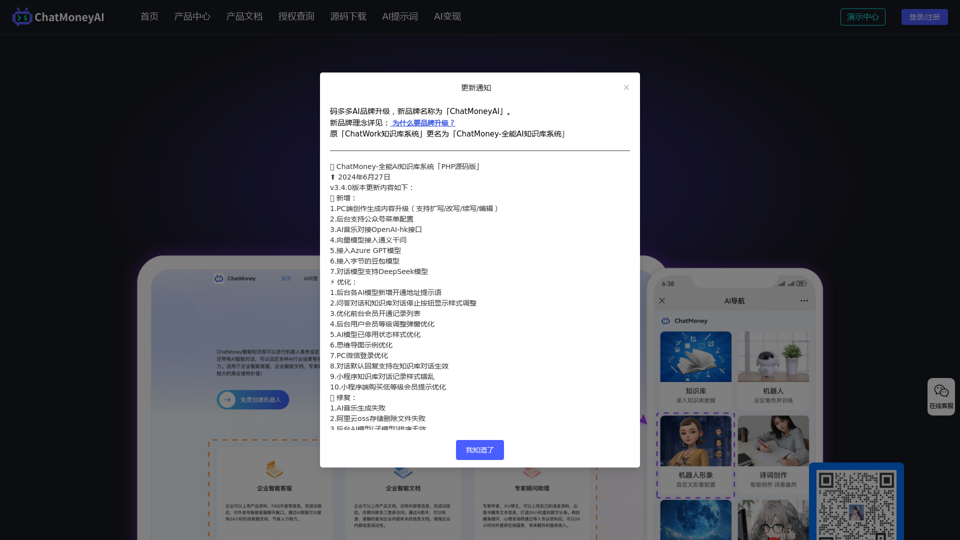
ChatMoney, ChatMoney AI, AI Monetization, CodeMood, CodeMood AI, AI Chat, AI Knowledge Base, AI Painting, ChatMoney was born for AI monetization.
ChatMoney, ChatMoney AI, AI Monetization, CodeMood, CodeMood AI, AI Chat, AI Knowledge Base, AI Painting, ChatMoney was born for AI monetization.Here is the translation in English, keeping the original format: ChatMoney, ChatMoneyAI, CodeMore AI, CodeMore, AI Source Code, ChatAI, ChatWork, Intelligent Chat System, Knowledge Base System, Painting System, Stable Diffusion, Midjourney, AI Chat, AI Knowledge Base, AI Painting, AI System.
0