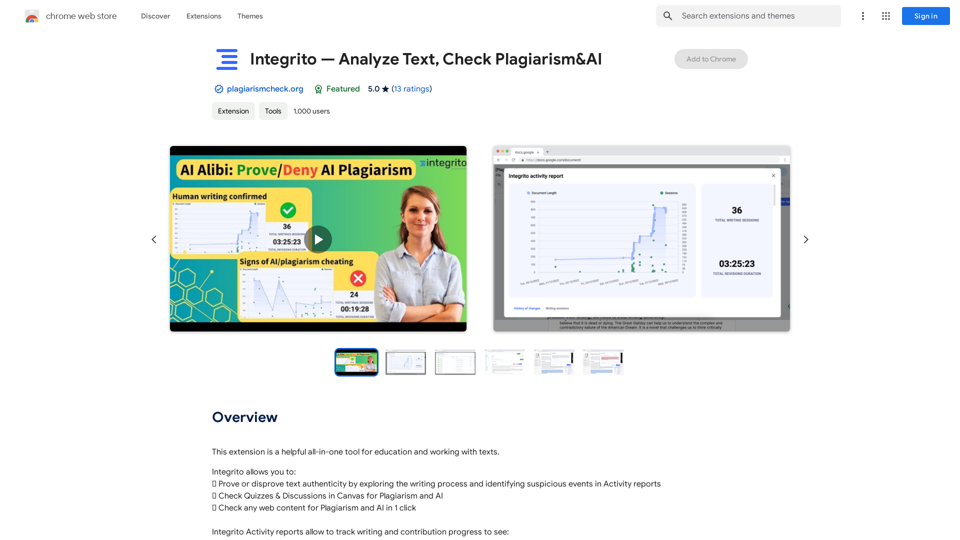
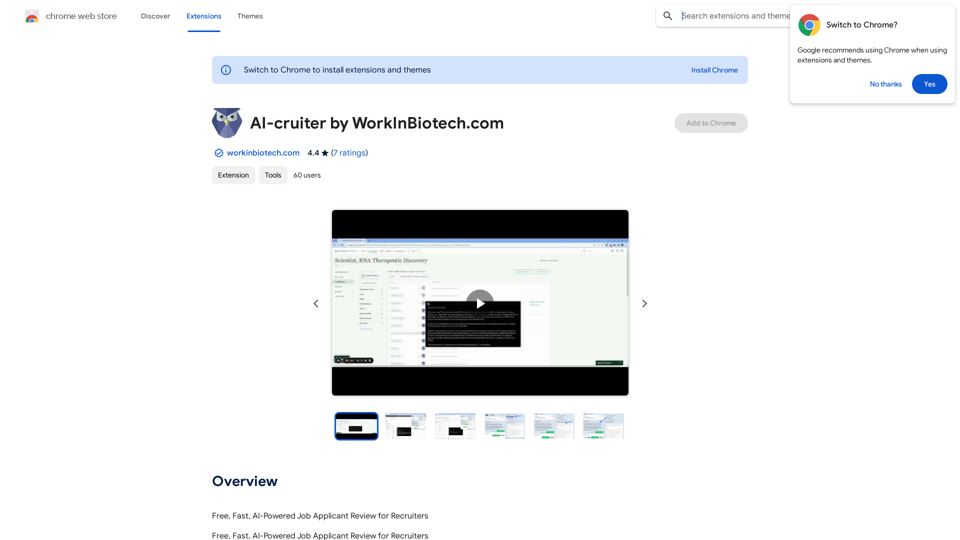
AI-cruiter is a free, AI-powered job applicant review extension for recruiters. It streamlines the recruitment process by providing AI-generated summaries and fitness ratings for up to 2,000 job applicants per month. The extension integrates seamlessly with popular applicant tracking systems and leverages advanced language models to enhance efficiency in candidate evaluation.
AI-cruiter by WorkInBiotech.com
Free, Fast, AI-Powered Job Applicant Review for Recruiters
Introduction
Feature
AI-Powered Efficiency
AI-cruiter generates customizable summaries based on resumes and assigns fitness scores for each applicant based on the selected job description, significantly speeding up the review process.
Advanced Language Models
The extension utilizes cutting-edge large language models like ChatGPT 4 and Llama 3, enabling recruiters to review hundreds of applicants in minutes.
Seamless ATS Integration
AI-cruiter works out-of-the-box with popular applicant tracking systems including Lever, Greenhouse, JazzHR, Workable, and Breezy, ensuring a smooth workflow.
Customization and Bookmarking
Users can bookmark promising candidates and create or customize prompts for different jobs, allowing for a tailored recruitment experience.
Free Usage
AI-cruiter offers free access for reviewing up to 2,000 job applicants per month, with paid subscription options available for heavier usage.
FAQ
How does AI-cruiter work?
AI-cruiter utilizes advanced large language models like ChatGPT 4 and Llama 3 to generate AI-powered summaries and fitness ratings for job applicants, streamlining the review process.
How can I start using AI-cruiter?
To use AI-cruiter:
- Install the extension from the Chrome Web Store
- Configure it by selecting the job description and setting up the AI-powered review process
- Begin reviewing applicants, generating summaries and fitness ratings
- Bookmark promising candidates and customize prompts as needed
What are some helpful tips for using AI-cruiter effectively?
- Customize your job description for more accurate AI-powered summaries and ratings
- Use the bookmarking feature to track promising candidates
- Experiment with different prompts to optimize the AI-powered review process
Related Websites
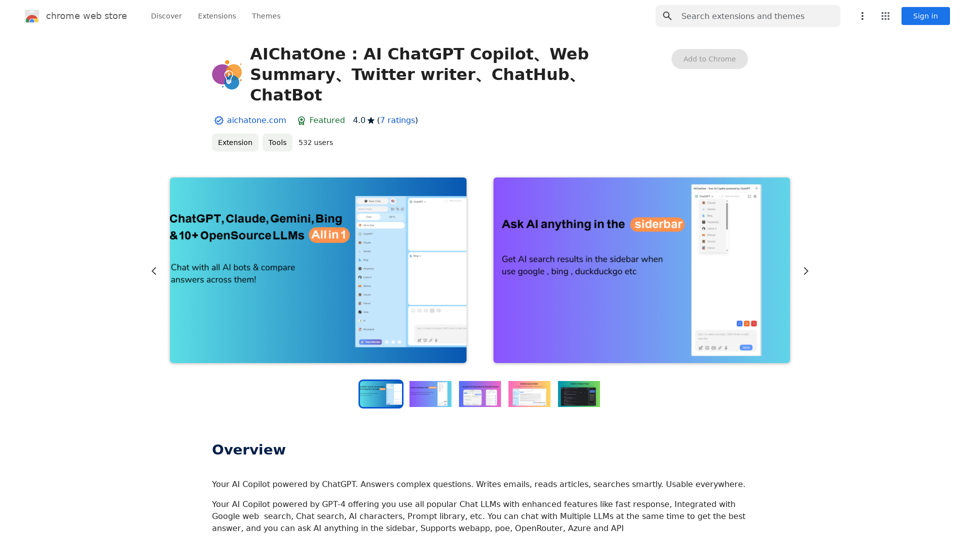
AIChatOne: AI ChatGPT Copilot, Web Summary, Twitter Writer, ChatHub, ChatBot
AIChatOne: AI ChatGPT Copilot, Web Summary, Twitter Writer, ChatHub, ChatBotYour AI Copilot powered by ChatGPT. Answers complex questions. Writes emails. Reads articles. Searches smartly. Usable everywhere.
193.90 M
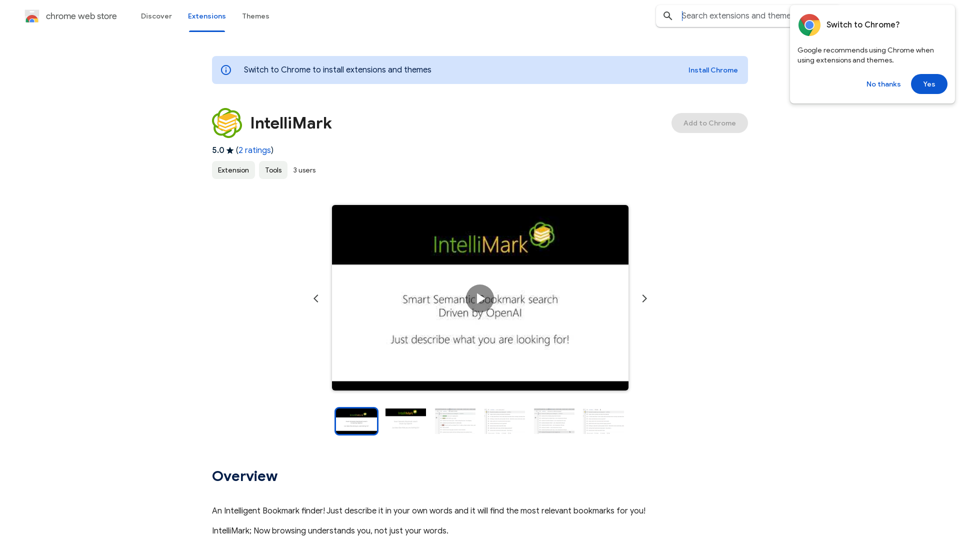
An intelligent bookmark finder! Just tell it what you're looking for in your own words, and it will find the most useful bookmarks for you!
193.90 M
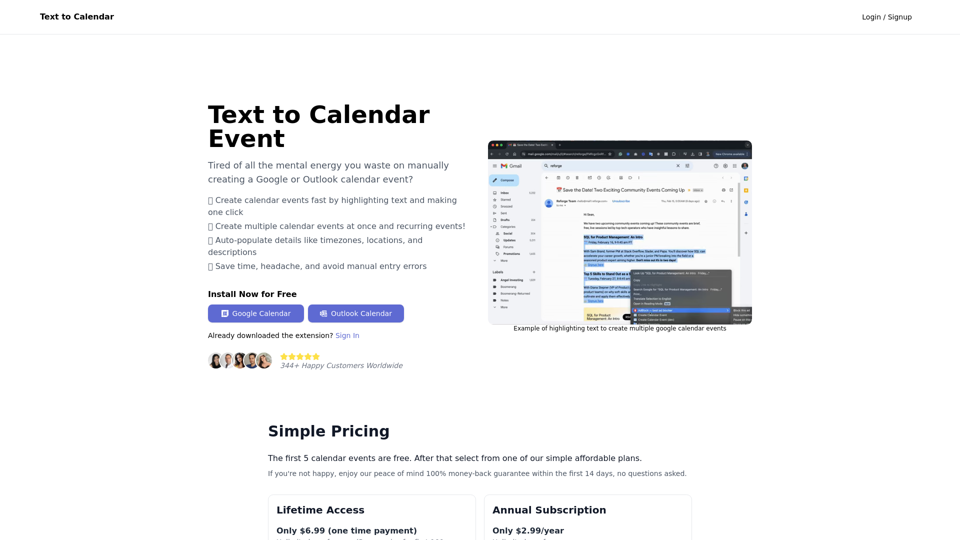
Text to Calendar Convert text into a calendar format, making it easy to organize and schedule events.
Text to Calendar Convert text into a calendar format, making it easy to organize and schedule events.Easily create calendar events from any piece of highlighted text
4.65 K
)
* Create a new notebook
* Install the `transformers` library by running `!pip install transformers`
* Import the `transformers` library and load the ChatGPT model using `from transformers import AutoModelForCausalLM, AutoTokenizer; model = AutoModelForCausalLM.from_pretrained('chatgpt'); tokenizer = AutoTokenizer.from_pretrained('chatgpt')`
* Use the model to generate text using `input_text = "Your input here"; inputs = tokenizer.encode_plus(input_text, return_tensors='pt', max_length=1024, padding='max_length', truncation=True); output = model(inputs['input_ids'], attention_mask=inputs['attention_mask']); print(tokenizer.decode(output.logits[0], skip_special_tokens=True))`
Method 2: Google Apps Script
* Open Google Apps Script ([script.google.com](http://script.google.com))
* Create a new project
* Install the `transformers` library by running `npm install transformers`
* Import the `transformers` library and load the ChatGPT model using `const { AutoModelForCausalLM, AutoTokenizer } = require('transformers'); const model = new AutoModelForCausalLM('chatgpt'); const tokenizer = new AutoTokenizer('chatgpt');`
* Use the model to generate text using `const inputText = "Your input here"; const inputs = tokenizer.encodePlus(inputText, { return_tensors: 'pt', max_length: 1024, padding: 'max_length', truncation: true }); const output = model(inputs.inputIds, inputs.attentionMask); console.log(tokenizer.decode(output.logits[0], { skipSpecialTokens: true }));`
Note: These methods require some technical knowledge and may have limitations compared to the original ChatGPT model.](https://static.right-ai.com/tools/2024/7/3/chromewebstore-google-com-detail-chatgpt-for-google-for-fr-pabeminldebomngnkgffiejipjjaaogi-thumbnail-1720037311.png "Get ChatGPT for Free with Google
You can now access ChatGPT, a powerful language model, for free with Google. Here's how:
Method 1: Google Colab
* Open Google Colab ([colab.research.google.com](http://colab.research.google.com))
* Create a new notebook
* Install the `transformers` library by running `!pip install transformers`
* Import the `transformers` library and load the ChatGPT model using `from transformers import AutoModelForCausalLM, AutoTokenizer; model = AutoModelForCausalLM.from_pretrained('chatgpt'); tokenizer = AutoTokenizer.from_pretrained('chatgpt')`
* Use the model to generate text using `input_text = \"Your input here\"; inputs = tokenizer.encode_plus(input_text, return_tensors='pt', max_length=1024, padding='max_length', truncation=True); output = model(inputs['input_ids'], attention_mask=inputs['attention_mask']); print(tokenizer.decode(output.logits[0], skip_special_tokens=True))`
Method 2: Google Apps Script
* Open Google Apps Script ([script.google.com](http://script.google.com))
* Create a new project
* Install the `transformers` library by running `npm install transformers`
* Import the `transformers` library and load the ChatGPT model using `const { AutoModelForCausalLM, AutoTokenizer } = require('transformers'); const model = new AutoModelForCausalLM('chatgpt'); const tokenizer = new AutoTokenizer('chatgpt');`
* Use the model to generate text using `const inputText = \"Your input here\"; const inputs = tokenizer.encodePlus(inputText, { return_tensors: 'pt', max_length: 1024, padding: 'max_length', truncation: true }); const output = model(inputs.inputIds, inputs.attentionMask); console.log(tokenizer.decode(output.logits[0], { skipSpecialTokens: true }));`
Note: These methods require some technical knowledge and may have limitations compared to the original ChatGPT model.")
Get ChatGPT for Free with Google You can now access ChatGPT, a powerful language model, for free with Google. Here's how: Method 1: Google Colab * Open Google Colab ([colab.research.google.com](http://colab.research.google.com)) * Create a new notebook * Install the `transformers` library by running `!pip install transformers` * Import the `transformers` library and load the ChatGPT model using `from transformers import AutoModelForCausalLM, AutoTokenizer; model = AutoModelForCausalLM.from_pretrained('chatgpt'); tokenizer = AutoTokenizer.from_pretrained('chatgpt')` * Use the model to generate text using `input_text = "Your input here"; inputs = tokenizer.encode_plus(input_text, return_tensors='pt', max_length=1024, padding='max_length', truncation=True); output = model(inputs['input_ids'], attention_mask=inputs['attention_mask']); print(tokenizer.decode(output.logits[0], skip_special_tokens=True))` Method 2: Google Apps Script * Open Google Apps Script ([script.google.com](http://script.google.com)) * Create a new project * Install the `transformers` library by running `npm install transformers` * Import the `transformers` library and load the ChatGPT model using `const { AutoModelForCausalLM, AutoTokenizer } = require('transformers'); const model = new AutoModelForCausalLM('chatgpt'); const tokenizer = new AutoTokenizer('chatgpt');` * Use the model to generate text using `const inputText = "Your input here"; const inputs = tokenizer.encodePlus(inputText, { return_tensors: 'pt', max_length: 1024, padding: 'max_length', truncation: true }); const output = model(inputs.inputIds, inputs.attentionMask); console.log(tokenizer.decode(output.logits[0], { skipSpecialTokens: true }));` Note: These methods require some technical knowledge and may have limitations compared to the original ChatGPT model.
Get ChatGPT for Free with Google You can now access ChatGPT, a powerful language model, for free with Google. Here's how: Method 1: Google Colab * Open Google Colab ([colab.research.google.com](http://colab.research.google.com)) * Create a new notebook * Install the `transformers` library by running `!pip install transformers` * Import the `transformers` library and load the ChatGPT model using `from transformers import AutoModelForCausalLM, AutoTokenizer; model = AutoModelForCausalLM.from_pretrained('chatgpt'); tokenizer = AutoTokenizer.from_pretrained('chatgpt')` * Use the model to generate text using `input_text = "Your input here"; inputs = tokenizer.encode_plus(input_text, return_tensors='pt', max_length=1024, padding='max_length', truncation=True); output = model(inputs['input_ids'], attention_mask=inputs['attention_mask']); print(tokenizer.decode(output.logits[0], skip_special_tokens=True))` Method 2: Google Apps Script * Open Google Apps Script ([script.google.com](http://script.google.com)) * Create a new project * Install the `transformers` library by running `npm install transformers` * Import the `transformers` library and load the ChatGPT model using `const { AutoModelForCausalLM, AutoTokenizer } = require('transformers'); const model = new AutoModelForCausalLM('chatgpt'); const tokenizer = new AutoTokenizer('chatgpt');` * Use the model to generate text using `const inputText = "Your input here"; const inputs = tokenizer.encodePlus(inputText, { return_tensors: 'pt', max_length: 1024, padding: 'max_length', truncation: true }); const output = model(inputs.inputIds, inputs.attentionMask); console.log(tokenizer.decode(output.logits[0], { skipSpecialTokens: true }));` Note: These methods require some technical knowledge and may have limitations compared to the original ChatGPT model.How to Add ChatGPT to All Google Searches ===================================================== Step 1: Create a Custom Search Engine -------------------------------------- * Go to the [Google Custom Search Engine](https://cse.google.com/) website and sign in with your Google account. * Click on the "New Search Engine" button. * Fill in the required information, such as the name and description of your search engine. * Click on the "Create" button. Step 2: Add ChatGPT to the Search Engine ----------------------------------------- * In the "Setup" tab, click on the "Add" button next to "Sites to search". * Enter the following URL: `https://chat.openai.com/` * Click on the "Add" button. Step 3: Configure the Search Engine -------------------------------------- * In the "Setup" tab, click on the "Edit" button next to "Search engine keywords". * Add the following keywords: `ChatGPT` * Click on the "Save" button. Step 4: Get the Search Engine Code ------------------------------------- * In the "Setup" tab, click on the "Get code" button. * Copy the HTML code provided. Step 5: Add the Search Engine to Your Browser ------------------------------------------------ * Open your browser and go to the "Settings" or "Options" page. * Look for the "Search engine" or "Default search engine" option. * Click on the "Add" or "Manage search engines" button. * Paste the HTML code you copied earlier. * Click on the "Add" or "Save" button. You're Done! =============== Now, whenever you search on Google, ChatGPT will be included in the search results. You can also use the custom search engine URL provided by Google to search directly.
193.90 M