Open-source RightAI Tools Directory
  • Discover AI
  • Submit
  • Startup
  • Blog
Open-source RightAI Tools Directory
Discover the best AI tools of 2025 with the RightAI Tools Directory!

Friend Links

AI Anime GeneratorToolsApp AI

Support

Tap4
Privacy policyTerms & ConditionsContact Us
Loading...
loading...

Best AI Writer, Content Generator & Copywriting Assistant | Easy-Peasy.AI

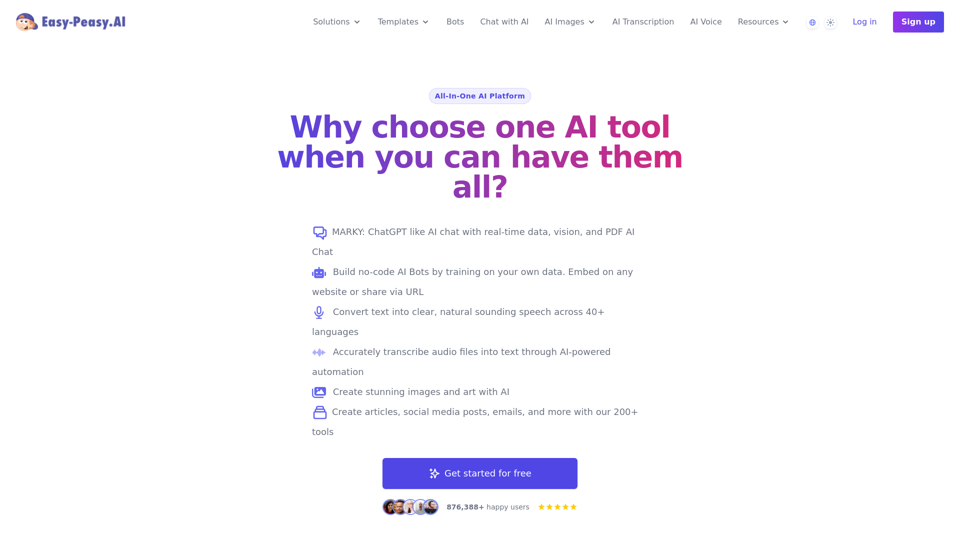
Your One-Stop Solution for Content Creation, Image Crafting, Audio Generation, and AI Transcription.
Visit Website
Best AI Writer, Content Generator & Copywriting Assistant | Easy-Peasy.AI
Visit Website

Introduction

Easy-Peasy.AI is a comprehensive AI platform offering a wide range of AI technologies for various needs. It provides access to advanced language models like GPT-4, Claude 3 Opus, Google Gemini, and Mistral. The platform enables users to create images, generate content, automate audio transcription, and engage in AI-powered conversations.

Feature

AI Chat with MARKY

MARKY, powered by GPT-4, Claude 3 Opus, Google Gemini, and Mistral models, offers a personalized and empathetic chat experience surpassing ChatGPT's capabilities.

AI Image Generation

Create stunning images and artwork using AI-powered tools.

AI Text-to-Speech

Highly accurate speech synthesis with human-level proficiency, trained on diverse languages.

AI Content Generation

Over 200 proven templates to improve copy and generate ideas 10 times faster.

Custom ChatGPT Bots

Build and embed custom GPT models on websites or share via URL for various purposes like customer support and lead generation.

Free Daily Usage

Users can access GPT-4o for free up to 20 times daily.

Extensive GPT Model Library

Nearly 200,000 GPT models available for various applications in work, study, and daily life.

Privacy Protection

User data is not used for training purposes and can be deleted upon request.

FAQ

How can I maximize my use of Easy-Peasy.AI's services?

Utilize the daily free uses of GPT-4o for document reading and AI-powered content creation tools.

When should I consider a subscription?

If 20 free GPT-4o conversations per day are insufficient for your needs, consider subscribing to affordable plans.

What are the pricing options?

Easy-Peasy.AI offers various plans:

Plan TypeFeatures
Free PlanBasic access
Enhanced PlanAdditional benefits
Annual Subscription40% discount

Is there a refund policy?

Yes, there's a 30-day money-back guarantee with no questions asked.

Can I change my subscription plan?

Yes, you can upgrade or downgrade your plan at any time.

How does billing work?

Billing occurs at the start of your subscription period.

Latest Traffic Insights

  • Monthly Visits

    1.14 M

  • Bounce Rate

    50.99%

  • Pages Per Visit

    2.75

  • Time on Site(s)

    78.07

  • Global Rank

    46955

  • Country Rank

    United States 35097

Recent Visits

Traffic Sources

  • Social Media:
    1.12%
  • Paid Referrals:
    0.46%
  • Email:
    0.05%
  • Referrals:
    3.67%
  • Search Engines:
    66.35%
  • Direct:
    28.35%
More Data

Related Websites

ScreenRedact on the Mac App Store

#Description
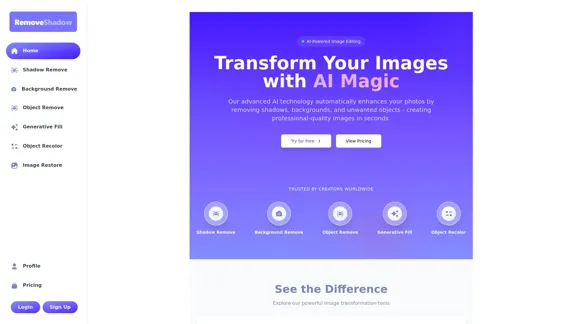
ScreenRedact is a powerful and easy-to-use screenshot editing tool that allows you to quickly and easily remove sensitive information from your screenshots. With its intuitive interface and advanced features, ScreenRedact is the perfect solution for anyone who needs to share screenshots online or with others.

#Features
* Easy to use: ScreenRedact's intuitive interface makes it easy to get started, even if you're not tech-savvy.
* Advanced editing tools: ScreenRedact offers a range of advanced editing tools, including blur, pixelate, and redact, to help you remove sensitive information from your screenshots.
* Customizable: ScreenRedact allows you to customize the appearance of your redactions, including the color, opacity, and style.
* Support for multiple file formats: ScreenRedact supports a range of file formats, including JPEG, PNG, and TIFF.
* Share easily: ScreenRedact makes it easy to share your edited screenshots with others, either by saving them to your computer or sharing them directly to social media or email.

#What's New
* Improved performance: ScreenRedact is now faster and more efficient, making it easier to edit your screenshots.
* New editing tools: ScreenRedact now includes new editing tools, including a magic wand and a lasso tool, to make it even easier to remove sensitive information from your screenshots.
* Enhanced customization options: ScreenRedact now offers even more customization options, including the ability to change the color and opacity of your redactions.

#Ratings and Reviews
* 4.5/5 stars: ScreenRedact has an average rating of 4.5 out of 5 stars on the Mac App Store.
* "Easy to use and effective": One reviewer praised ScreenRedact's ease of use and effectiveness, saying "I was able to quickly and easily remove sensitive information from my screenshots."
* "A must-have for anyone who shares screenshots online": Another reviewer called ScreenRedact "a must-have for anyone who shares screenshots online," citing its ease of use and advanced features.
View Detail

ScreenRedact on the Mac App Store #Description ScreenRedact is a powerful and easy-to-use screenshot editing tool that allows you to quickly and easily remove sensitive information from your screenshots. With its intuitive interface and advanced features, ScreenRedact is the perfect solution for anyone who needs to share screenshots online or with others. #Features * Easy to use: ScreenRedact's intuitive interface makes it easy to get started, even if you're not tech-savvy. * Advanced editing tools: ScreenRedact offers a range of advanced editing tools, including blur, pixelate, and redact, to help you remove sensitive information from your screenshots. * Customizable: ScreenRedact allows you to customize the appearance of your redactions, including the color, opacity, and style. * Support for multiple file formats: ScreenRedact supports a range of file formats, including JPEG, PNG, and TIFF. * Share easily: ScreenRedact makes it easy to share your edited screenshots with others, either by saving them to your computer or sharing them directly to social media or email. #What's New * Improved performance: ScreenRedact is now faster and more efficient, making it easier to edit your screenshots. * New editing tools: ScreenRedact now includes new editing tools, including a magic wand and a lasso tool, to make it even easier to remove sensitive information from your screenshots. * Enhanced customization options: ScreenRedact now offers even more customization options, including the ability to change the color and opacity of your redactions. #Ratings and Reviews * 4.5/5 stars: ScreenRedact has an average rating of 4.5 out of 5 stars on the Mac App Store. * "Easy to use and effective": One reviewer praised ScreenRedact's ease of use and effectiveness, saying "I was able to quickly and easily remove sensitive information from my screenshots." * "A must-have for anyone who shares screenshots online": Another reviewer called ScreenRedact "a must-have for anyone who shares screenshots online," citing its ease of use and advanced features.

ScreenRedact on the Mac App Store #Description ScreenRedact is a powerful and easy-to-use screenshot editing tool that allows you to quickly and easily remove sensitive information from your screenshots. With its intuitive interface and advanced features, ScreenRedact is the perfect solution for anyone who needs to share screenshots online or with others. #Features * Easy to use: ScreenRedact's intuitive interface makes it easy to get started, even if you're not tech-savvy. * Advanced editing tools: ScreenRedact offers a range of advanced editing tools, including blur, pixelate, and redact, to help you remove sensitive information from your screenshots. * Customizable: ScreenRedact allows you to customize the appearance of your redactions, including the color, opacity, and style. * Support for multiple file formats: ScreenRedact supports a range of file formats, including JPEG, PNG, and TIFF. * Share easily: ScreenRedact makes it easy to share your edited screenshots with others, either by saving them to your computer or sharing them directly to social media or email. #What's New * Improved performance: ScreenRedact is now faster and more efficient, making it easier to edit your screenshots. * New editing tools: ScreenRedact now includes new editing tools, including a magic wand and a lasso tool, to make it even easier to remove sensitive information from your screenshots. * Enhanced customization options: ScreenRedact now offers even more customization options, including the ability to change the color and opacity of your redactions. #Ratings and Reviews * 4.5/5 stars: ScreenRedact has an average rating of 4.5 out of 5 stars on the Mac App Store. * "Easy to use and effective": One reviewer praised ScreenRedact's ease of use and effectiveness, saying "I was able to quickly and easily remove sensitive information from my screenshots." * "A must-have for anyone who shares screenshots online": Another reviewer called ScreenRedact "a must-have for anyone who shares screenshots online," citing its ease of use and advanced features.

ScreenRedact allows you to remove sensitive text from an image by utilizing Apple's on-device machine learning model, which identifies text within an image and enables you to redact it with ease.

124.77 M
UniOne AI
View Detail

UniOne AI

UniOne AI

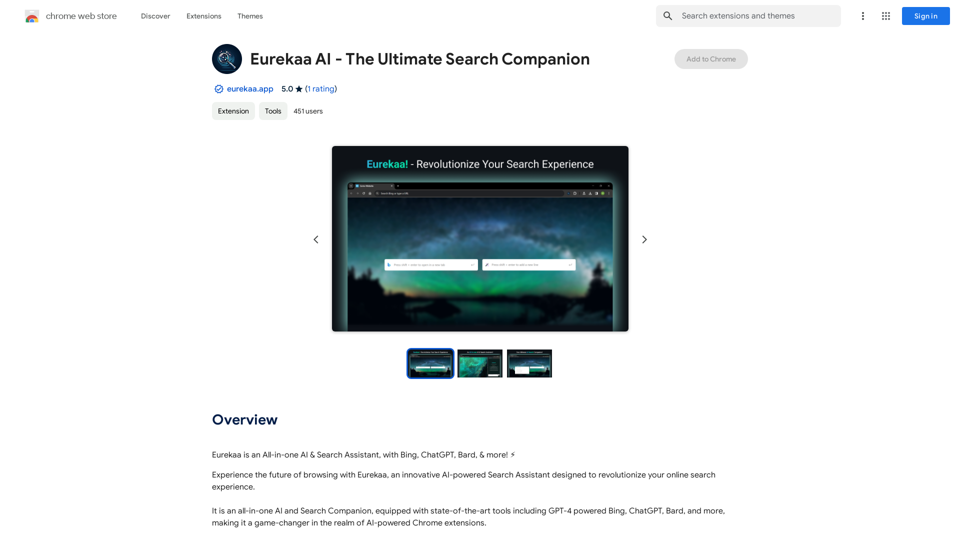
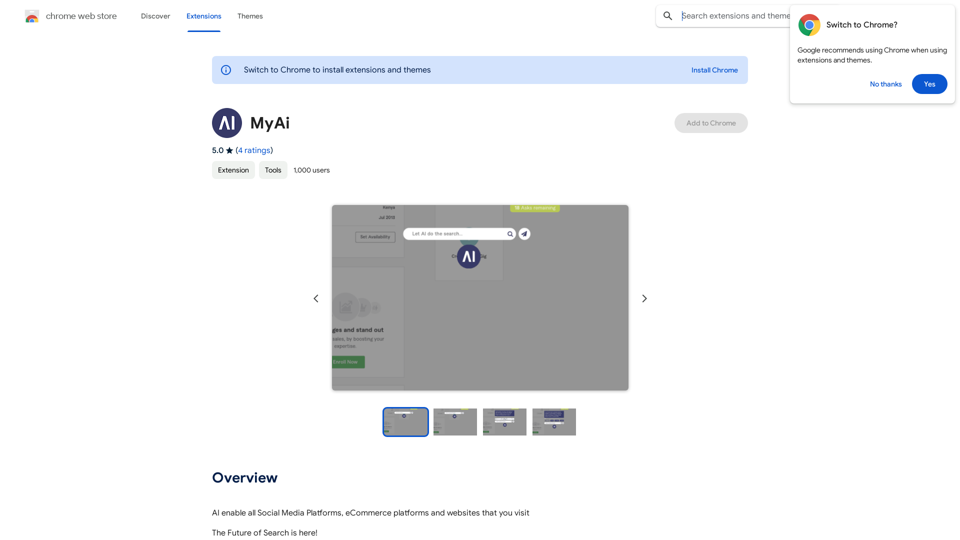
UniOne AI is an AI assistant that integrates several AI services such as GPT3.5, GPT4, Claude 3, Gemini Pro and more!

193.90 M
FluxAI.art: Flux.1 AI Image Generator Free Online
View Detail

FluxAI.art: Flux.1 AI Image Generator Free Online

FluxAI.art: Flux.1 AI Image Generator Free Online

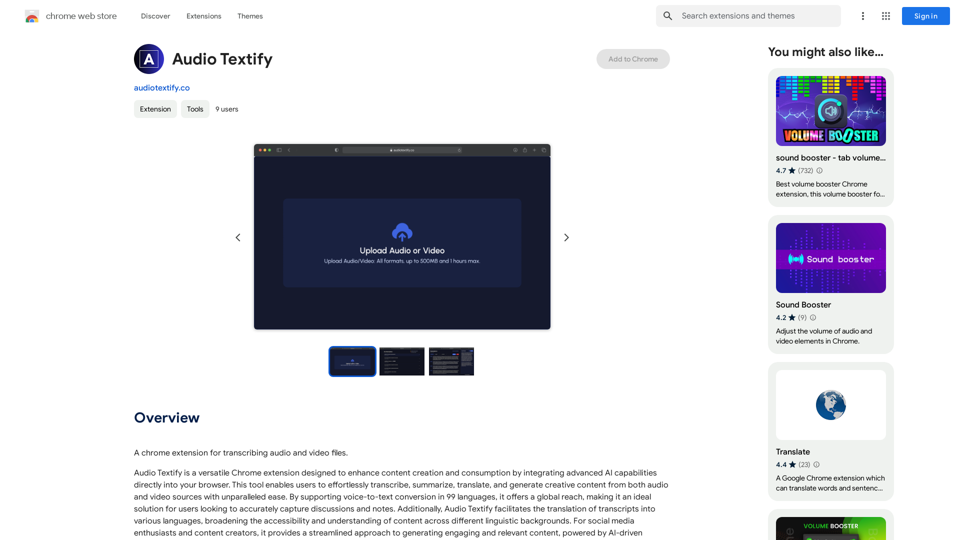
Transform text into images with Flux.1, the cutting-edge AI image generator by Black Forest Labs. Experience unparalleled image quality and prompt adherence to creative projects with Flux.1 [pro], Flux.1 [dev], and Flux.1 [schnell].

540.55 K
DreamStudio
View Detail

DreamStudio

DreamStudio

DreamStudio is an AI-powered image generation platform developed by Stability AI

8.59 K
Transform Photos into Ghibli Style Images for Free.
View Detail

Transform Photos into Ghibli Style Images for Free.

Transform Photos into Ghibli Style Images for Free.

Experience AI Ghibli, the revolutionary photo transformation tool that converts your ordinary images into magical Ghibli-style artwork with just one click.

51
Kolors Virtual Try On AI: Free Tool for Stunning Virtual
View Detail

Kolors Virtual Try On AI: Free Tool for Stunning Virtual

Kolors Virtual Try On AI: Free Tool for Stunning Virtual

Experience Kolors Virtual Try On AI: effortlessly try various makeup looks and hairstyles in real-time, ensuring the perfect style for you

0
Batch Save ChatGPT to Notion

This is a guide on how to save multiple ChatGPT responses to Notion in a batch. 

Tools You'll Need:

* ChatGPT: An AI chatbot that can generate text.
* Notion: A note-taking and project management tool.
* Python: A programming language.
* Requests Library: A Python library for making HTTP requests.

Steps:

1. Get Your Notion API Token:
   - Go to your Notion workspace settings.
   - Navigate to the "Integrations" tab.
   - Click "Create new integration" and choose "API Token".
   - Copy your API token.

2. Install Python Libraries:
   - Open your terminal or command prompt.
   - Type `pip install requests` and press Enter.

3. Write Python Script:
   - Create a new Python file (e.g., `save_chatgpt_to_notion.py`).
   - Paste the following code into the file, replacing `YOUR_NOTION_API_TOKEN` with your actual token:

```python
import requests

def save_chatgpt_response_to_notion(response, page_id, token):
  """Saves a ChatGPT response to a Notion page."""
  url = f"https://api.notion.com/v1/pages/{page_id}/children"
  headers = {"Authorization": f"Bearer {token}"}
  data = {
    "parent": {
      "page_id": page_id
    },
    "properties": {
      "title": {
        "title": [
          {
            "text": {
              "content": "ChatGPT Response"
            }
          }
        ]
      },
      "content": {
        "rich_text": [
          {
            "text": {
              "content": response
            }
          }
        ]
      }
    }
  }
  response = requests.post(url, headers=headers, json=data)
  print(response.status_code)

Example usage
page_id = "YOUR_NOTION_PAGE_ID"
token = "YOUR_NOTION_API_TOKEN"

Get ChatGPT responses (replace with your actual ChatGPT interaction)
chatgpt_responses = [
  "This is the first ChatGPT response.",
  "This is the second ChatGPT response.",
  "This is the third ChatGPT response."
]

Save each response to Notion
for response in chatgpt_responses:
  save_chatgpt_response_to_notion(response, page_id, token)
```

4. Run the Script:
   - In your terminal, navigate to the directory where you saved the Python file.
   - Type `python save_chatgpt_to_notion.py` and press Enter.

5. Check Notion:
   - Open your Notion workspace and go to the page specified by `page_id`.
   - You should see your ChatGPT responses saved as separate blocks.
View Detail

Batch Save ChatGPT to Notion This is a guide on how to save multiple ChatGPT responses to Notion in a batch. Tools You'll Need: * ChatGPT: An AI chatbot that can generate text. * Notion: A note-taking and project management tool. * Python: A programming language. * Requests Library: A Python library for making HTTP requests. Steps: 1. Get Your Notion API Token: - Go to your Notion workspace settings. - Navigate to the "Integrations" tab. - Click "Create new integration" and choose "API Token". - Copy your API token. 2. Install Python Libraries: - Open your terminal or command prompt. - Type `pip install requests` and press Enter. 3. Write Python Script: - Create a new Python file (e.g., `save_chatgpt_to_notion.py`). - Paste the following code into the file, replacing `YOUR_NOTION_API_TOKEN` with your actual token: ```python import requests def save_chatgpt_response_to_notion(response, page_id, token): """Saves a ChatGPT response to a Notion page.""" url = f"https://api.notion.com/v1/pages/{page_id}/children" headers = {"Authorization": f"Bearer {token}"} data = { "parent": { "page_id": page_id }, "properties": { "title": { "title": [ { "text": { "content": "ChatGPT Response" } } ] }, "content": { "rich_text": [ { "text": { "content": response } } ] } } } response = requests.post(url, headers=headers, json=data) print(response.status_code) Example usage page_id = "YOUR_NOTION_PAGE_ID" token = "YOUR_NOTION_API_TOKEN" Get ChatGPT responses (replace with your actual ChatGPT interaction) chatgpt_responses = [ "This is the first ChatGPT response.", "This is the second ChatGPT response.", "This is the third ChatGPT response." ] Save each response to Notion for response in chatgpt_responses: save_chatgpt_response_to_notion(response, page_id, token) ``` 4. Run the Script: - In your terminal, navigate to the directory where you saved the Python file. - Type `python save_chatgpt_to_notion.py` and press Enter. 5. Check Notion: - Open your Notion workspace and go to the page specified by `page_id`. - You should see your ChatGPT responses saved as separate blocks.

Batch Save ChatGPT to Notion This is a guide on how to save multiple ChatGPT responses to Notion in a batch. Tools You'll Need: * ChatGPT: An AI chatbot that can generate text. * Notion: A note-taking and project management tool. * Python: A programming language. * Requests Library: A Python library for making HTTP requests. Steps: 1. Get Your Notion API Token: - Go to your Notion workspace settings. - Navigate to the "Integrations" tab. - Click "Create new integration" and choose "API Token". - Copy your API token. 2. Install Python Libraries: - Open your terminal or command prompt. - Type `pip install requests` and press Enter. 3. Write Python Script: - Create a new Python file (e.g., `save_chatgpt_to_notion.py`). - Paste the following code into the file, replacing `YOUR_NOTION_API_TOKEN` with your actual token: ```python import requests def save_chatgpt_response_to_notion(response, page_id, token): """Saves a ChatGPT response to a Notion page.""" url = f"https://api.notion.com/v1/pages/{page_id}/children" headers = {"Authorization": f"Bearer {token}"} data = { "parent": { "page_id": page_id }, "properties": { "title": { "title": [ { "text": { "content": "ChatGPT Response" } } ] }, "content": { "rich_text": [ { "text": { "content": response } } ] } } } response = requests.post(url, headers=headers, json=data) print(response.status_code) Example usage page_id = "YOUR_NOTION_PAGE_ID" token = "YOUR_NOTION_API_TOKEN" Get ChatGPT responses (replace with your actual ChatGPT interaction) chatgpt_responses = [ "This is the first ChatGPT response.", "This is the second ChatGPT response.", "This is the third ChatGPT response." ] Save each response to Notion for response in chatgpt_responses: save_chatgpt_response_to_notion(response, page_id, token) ``` 4. Run the Script: - In your terminal, navigate to the directory where you saved the Python file. - Type `python save_chatgpt_to_notion.py` and press Enter. 5. Check Notion: - Open your Notion workspace and go to the page specified by `page_id`. - You should see your ChatGPT responses saved as separate blocks.

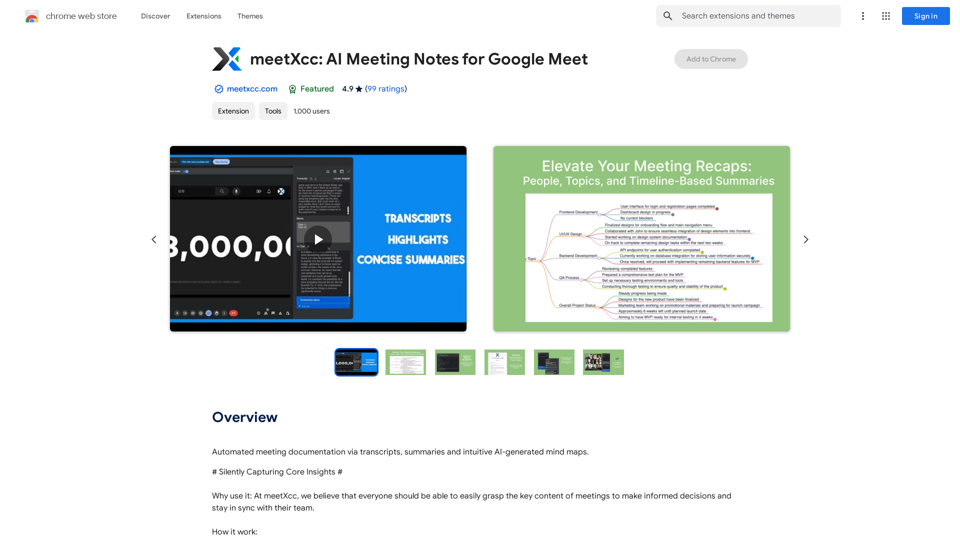
Save ChatGPT Conversations to Notion with One Click Export your ChatGPT conversations directly to Notion with a single click.

193.90 M
AI Tattoo Generator | Tattoo AI Design
View Detail

AI Tattoo Generator | Tattoo AI Design

AI Tattoo Generator | Tattoo AI Design

Tattoo AI Design is a tool that offers a free AI Tattoo Generator and Design service. It provides inspiration through AI-generated Tattoo Designs. The goal of Tattoo AI Design is to spark amazing ideas for users and help them create their own unique tattoo designs.

601