Open-source RightAI Tools Directory
  • Discover AI
  • Submit
  • Startup
  • Blog
Open-source RightAI Tools Directory
Discover the best AI tools of 2025 with the RightAI Tools Directory!

Friend Links

AI Anime GeneratorToolsApp AI

Support

Tap4
Privacy policyTerms & ConditionsContact Us
Loading...
loading...

ScreenSnap - Record and Annotate Screens

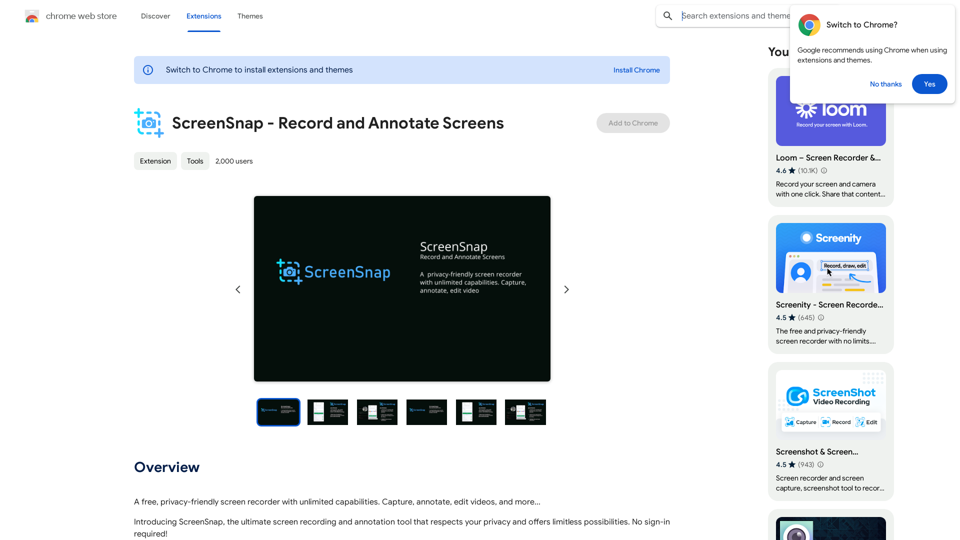
A free, privacy-friendly screen recorder with unlimited capabilities. Capture, annotate, edit videos, and more...
Visit Website
ScreenSnap - Record and Annotate Screens
Visit Website

Introduction

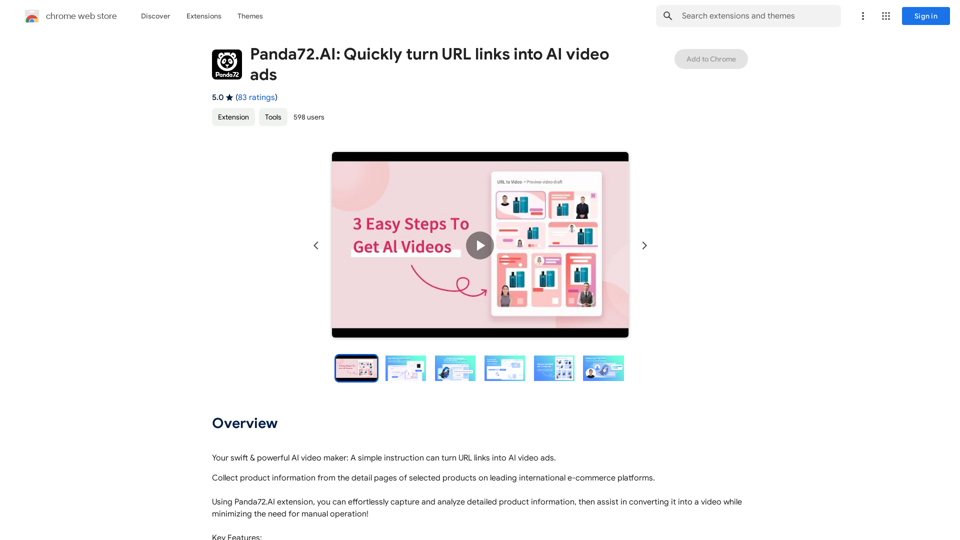
ScreenSnap is a free, privacy-focused screen recording tool that offers unlimited capabilities without requiring user sign-in. It provides a comprehensive set of features for capturing, annotating, and editing videos, making it an ideal solution for various purposes such as work, education, and personal projects.

Feature

Versatile Recording Options

  • Record tabs, specific areas, desktops, applications, or cameras
  • Capture microphone or internal audio with push-to-talk functionality
  • Unlimited recordings without restrictions

Advanced Annotation and Editing Tools

  • Add drawings, text, arrows, and shapes to recordings
  • AI-powered camera backgrounds and blur effects
  • Blur sensitive content for privacy
  • Comprehensive editor for audio manipulation, cutting, trimming, and cropping

Enhanced Presentation Features

  • Highlight clicks and cursor movements
  • Spotlight mode for focused presentations
  • Set alarms for automatic recording stops

Flexible Export Options

  • Export recordings as mp4, gif, or webm formats

Customizable User Experience

  • Customize with countdowns, UI hiding, and flexible UI placement
  • Privacy-focused design, ensuring user data remains private

Accessibility

  • Free extension with unlimited usage
  • No sign-in required

FAQ

Is ScreenSnap free to use?

Yes, ScreenSnap is a free extension that offers unlimited usage without any cost to the user.

Do I need to create an account to use ScreenSnap?

No, ScreenSnap does not require users to sign in or create an account to access its features.

What can I use ScreenSnap for?

ScreenSnap can be used for various purposes, including:

  • Creating tutorial videos for teams or students
  • Demonstrating software or app usage
  • Making video presentations
  • Recording screen and camera simultaneously

How does ScreenSnap ensure data privacy?

ScreenSnap is designed with privacy in mind. Only you have access to your videos, ensuring that your data remains private and secure.

Latest Traffic Insights

  • Monthly Visits

    193.90 M

  • Bounce Rate

    56.27%

  • Pages Per Visit

    2.71

  • Time on Site(s)

    115.91

  • Global Rank

    -

  • Country Rank

    -

Recent Visits

Traffic Sources

  • Social Media:
    0.48%
  • Paid Referrals:
    0.55%
  • Email:
    0.15%
  • Referrals:
    12.81%
  • Search Engines:
    16.21%
  • Direct:
    69.81%
More Data

Related Websites

Re:GPT — AI-Powered Email Assistant
View Detail

Re:GPT — AI-Powered Email Assistant

Re:GPT — AI-Powered Email Assistant

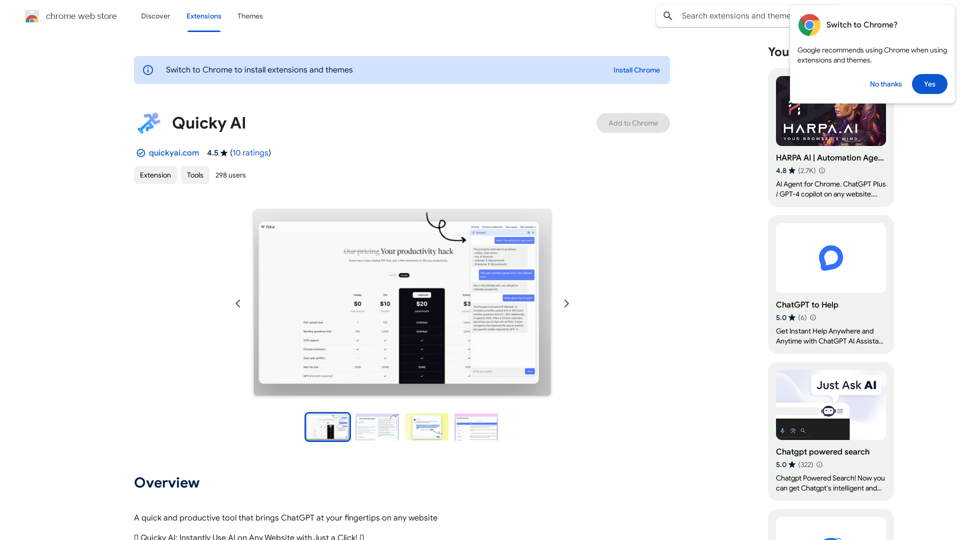
OpenAI ChatGPT integration for Gmail & Outlook — Automatically fill in email replies and harness the power of GPT to compose high-quality emails at a faster pace.

193.90 M
Publishing.ai
View Detail

Publishing.ai

Publishing.ai

Create high-quality books faster and more cost-effectively than ever, with the world’s first AI designed exclusively for digital publishers.

5.18 K
Natural Advanced Search for GitHub
View Detail

Natural Advanced Search for GitHub

Natural Advanced Search for GitHub

Searching GitHub Like a Pro: Using Natural Language

193.90 M
Grimo - Cursor for Writing
View Detail

Grimo - Cursor for Writing

Grimo - Cursor for Writing

The most powerful AI text editor. Coherent editing. Customized styling. Collaborate seamlessly.

1.36 K
GPTBrowser: ChatGPT for websites, PDFs & YouTube
View Detail

GPTBrowser: ChatGPT for websites, PDFs & YouTube

GPTBrowser: ChatGPT for websites, PDFs & YouTube

Boost your web experience with ChatGPT integrated into every website you visit.

193.90 M
Get ChatGPT for Free with Google

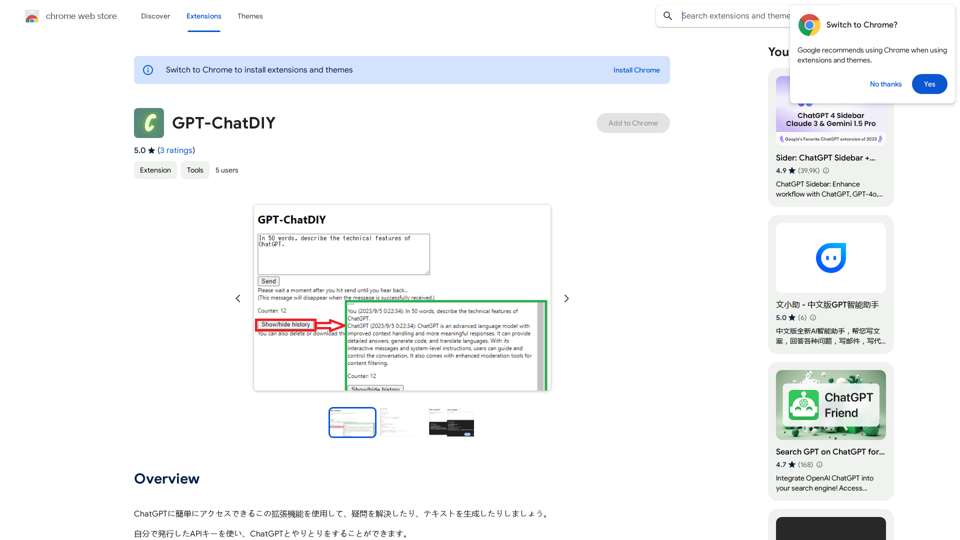
You can now access ChatGPT, a powerful language model, for free with Google. Here's how:

Method 1: Google Colab

* Open Google Colab ([colab.research.google.com](http://colab.research.google.com))
* Create a new notebook
* Install the `transformers` library by running `!pip install transformers`
* Import the `transformers` library and load the ChatGPT model using `from transformers import AutoModelForCausalLM, AutoTokenizer; model = AutoModelForCausalLM.from_pretrained('chatgpt'); tokenizer = AutoTokenizer.from_pretrained('chatgpt')`
* Use the model to generate text using `input_text = "Your input here"; inputs = tokenizer.encode_plus(input_text, return_tensors='pt', max_length=1024, padding='max_length', truncation=True); output = model(inputs['input_ids'], attention_mask=inputs['attention_mask']); print(tokenizer.decode(output.logits[0], skip_special_tokens=True))`

Method 2: Google Apps Script

* Open Google Apps Script ([script.google.com](http://script.google.com))
* Create a new project
* Install the `transformers` library by running `npm install transformers`
* Import the `transformers` library and load the ChatGPT model using `const { AutoModelForCausalLM, AutoTokenizer } = require('transformers'); const model = new AutoModelForCausalLM('chatgpt'); const tokenizer = new AutoTokenizer('chatgpt');`
* Use the model to generate text using `const inputText = "Your input here"; const inputs = tokenizer.encodePlus(inputText, { return_tensors: 'pt', max_length: 1024, padding: 'max_length', truncation: true }); const output = model(inputs.inputIds, inputs.attentionMask); console.log(tokenizer.decode(output.logits[0], { skipSpecialTokens: true }));`

Note: These methods require some technical knowledge and may have limitations compared to the original ChatGPT model.
View Detail

Get ChatGPT for Free with Google You can now access ChatGPT, a powerful language model, for free with Google. Here's how: Method 1: Google Colab * Open Google Colab ([colab.research.google.com](http://colab.research.google.com)) * Create a new notebook * Install the `transformers` library by running `!pip install transformers` * Import the `transformers` library and load the ChatGPT model using `from transformers import AutoModelForCausalLM, AutoTokenizer; model = AutoModelForCausalLM.from_pretrained('chatgpt'); tokenizer = AutoTokenizer.from_pretrained('chatgpt')` * Use the model to generate text using `input_text = "Your input here"; inputs = tokenizer.encode_plus(input_text, return_tensors='pt', max_length=1024, padding='max_length', truncation=True); output = model(inputs['input_ids'], attention_mask=inputs['attention_mask']); print(tokenizer.decode(output.logits[0], skip_special_tokens=True))` Method 2: Google Apps Script * Open Google Apps Script ([script.google.com](http://script.google.com)) * Create a new project * Install the `transformers` library by running `npm install transformers` * Import the `transformers` library and load the ChatGPT model using `const { AutoModelForCausalLM, AutoTokenizer } = require('transformers'); const model = new AutoModelForCausalLM('chatgpt'); const tokenizer = new AutoTokenizer('chatgpt');` * Use the model to generate text using `const inputText = "Your input here"; const inputs = tokenizer.encodePlus(inputText, { return_tensors: 'pt', max_length: 1024, padding: 'max_length', truncation: true }); const output = model(inputs.inputIds, inputs.attentionMask); console.log(tokenizer.decode(output.logits[0], { skipSpecialTokens: true }));` Note: These methods require some technical knowledge and may have limitations compared to the original ChatGPT model.

Get ChatGPT for Free with Google You can now access ChatGPT, a powerful language model, for free with Google. Here's how: Method 1: Google Colab * Open Google Colab ([colab.research.google.com](http://colab.research.google.com)) * Create a new notebook * Install the `transformers` library by running `!pip install transformers` * Import the `transformers` library and load the ChatGPT model using `from transformers import AutoModelForCausalLM, AutoTokenizer; model = AutoModelForCausalLM.from_pretrained('chatgpt'); tokenizer = AutoTokenizer.from_pretrained('chatgpt')` * Use the model to generate text using `input_text = "Your input here"; inputs = tokenizer.encode_plus(input_text, return_tensors='pt', max_length=1024, padding='max_length', truncation=True); output = model(inputs['input_ids'], attention_mask=inputs['attention_mask']); print(tokenizer.decode(output.logits[0], skip_special_tokens=True))` Method 2: Google Apps Script * Open Google Apps Script ([script.google.com](http://script.google.com)) * Create a new project * Install the `transformers` library by running `npm install transformers` * Import the `transformers` library and load the ChatGPT model using `const { AutoModelForCausalLM, AutoTokenizer } = require('transformers'); const model = new AutoModelForCausalLM('chatgpt'); const tokenizer = new AutoTokenizer('chatgpt');` * Use the model to generate text using `const inputText = "Your input here"; const inputs = tokenizer.encodePlus(inputText, { return_tensors: 'pt', max_length: 1024, padding: 'max_length', truncation: true }); const output = model(inputs.inputIds, inputs.attentionMask); console.log(tokenizer.decode(output.logits[0], { skipSpecialTokens: true }));` Note: These methods require some technical knowledge and may have limitations compared to the original ChatGPT model.

How to Add ChatGPT to All Google Searches ===================================================== Step 1: Create a Custom Search Engine -------------------------------------- * Go to the [Google Custom Search Engine](https://cse.google.com/) website and sign in with your Google account. * Click on the "New Search Engine" button. * Fill in the required information, such as the name and description of your search engine. * Click on the "Create" button. Step 2: Add ChatGPT to the Search Engine ----------------------------------------- * In the "Setup" tab, click on the "Add" button next to "Sites to search". * Enter the following URL: `https://chat.openai.com/` * Click on the "Add" button. Step 3: Configure the Search Engine -------------------------------------- * In the "Setup" tab, click on the "Edit" button next to "Search engine keywords". * Add the following keywords: `ChatGPT` * Click on the "Save" button. Step 4: Get the Search Engine Code ------------------------------------- * In the "Setup" tab, click on the "Get code" button. * Copy the HTML code provided. Step 5: Add the Search Engine to Your Browser ------------------------------------------------ * Open your browser and go to the "Settings" or "Options" page. * Look for the "Search engine" or "Default search engine" option. * Click on the "Add" or "Manage search engines" button. * Paste the HTML code you copied earlier. * Click on the "Add" or "Save" button. You're Done! =============== Now, whenever you search on Google, ChatGPT will be included in the search results. You can also use the custom search engine URL provided by Google to search directly.

193.90 M
Satellite AI. Minutes Creation AI
View Detail

Satellite AI. Minutes Creation AI

Satellite AI. Minutes Creation AI

Satellite AI. The minutes creation AI is a function that utilizes AI to automatically create minutes of meetings on Google Meet™, Microsoft Teams, and Zoom.

193.90 M
Reliv
View Detail

Reliv

Reliv

Automate QA Tests in Just 5 Minutes

0