Genji is an AI-powered browser assistant for Chrome that automates everyday tasks. It allows users to delegate various tasks while they focus on other work or take a break. Genji can handle personal tasks like online shopping and making reservations, as well as professional tasks such as finding leads on LinkedIn, sending status updates, and conducting competitor research. With its ability to understand plain language commands and perform multiple tasks simultaneously, Genji aims to revolutionize browsing and boost productivity.
Genji - AI Browser Assistant
Automate the Browser Using a Visual AI Assistant
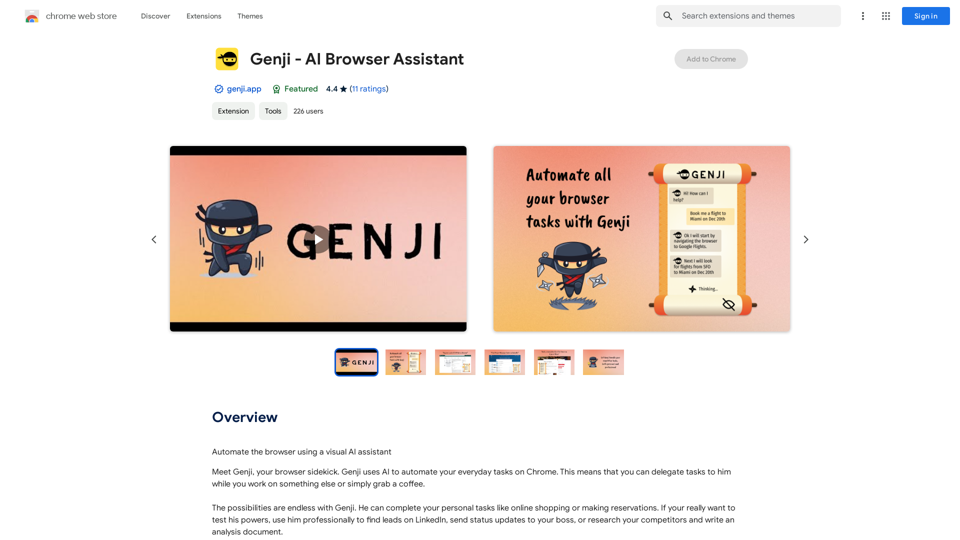
Introduction
Feature
AI-Powered Task Automation
Genji uses advanced AI technology to automate various tasks on the Chrome browser. Users can input tasks in plain language, and Genji will interpret and execute the necessary browser actions until the task is completed.
Multi-Tasking Capabilities
Genji can handle multiple tasks simultaneously, acting as an army of helpful ninjas at your service. This feature allows users to maximize their productivity by delegating various tasks to Genji at once.
Visual AI Assistant
The extension provides a visual AI assistant interface, making it easy for users to interact with and monitor the progress of their automated tasks.
Versatile Task Handling
Genji can perform a wide range of tasks, including:
- Personal tasks: Online shopping, making reservations
- Professional tasks: Finding leads on LinkedIn, sending status updates, researching competitors
Upcoming Features
- Scheduled tasks
- Voice command support
Free to Use
Users can download and start using Genji for free, making it accessible to anyone looking to enhance their browsing experience and productivity.
Privacy and Security
Genji prioritizes user data safety and privacy, implementing advanced security protocols to ensure data protection and encryption.
FAQ
How does Genji work?
Genji utilizes AI to automate everyday tasks on Chrome. Users input their tasks in plain language, and Genji deduces the necessary browser actions, repeating them until the task is complete.
What are the benefits of using Genji?
- Revolutionizes browsing experience
- Designed to make users 10x more productive on their browser
- Prioritizes data safety and privacy with advanced security protocols
How can I get started with Genji?
To get started with Genji:
- Download the Chrome extension for free
- Visit https://www.genji.app for more information
Are there any tips for using Genji effectively?
- Be specific with your queries for better understanding
- Use Genji to automate repetitive tasks
- Experiment with different tasks to explore Genji's capabilities
Is Genji safe to use?
Yes, Genji prioritizes the safety and privacy of user data, implementing advanced security protocols to ensure data protection and encryption.
Latest Traffic Insights
Monthly Visits
193.90 M
Bounce Rate
56.27%
Pages Per Visit
2.71
Time on Site(s)
115.91
Global Rank
-
Country Rank
-
Recent Visits
Traffic Sources
- Social Media:0.48%
- Paid Referrals:0.55%
- Email:0.15%
- Referrals:12.81%
- Search Engines:16.21%
- Direct:69.81%
Related Websites

CleanerPro, our AI-powered image editor, transforms e-commerce visuals by enabling effortless removal of logos, text, and unwanted elements with just one click.
0
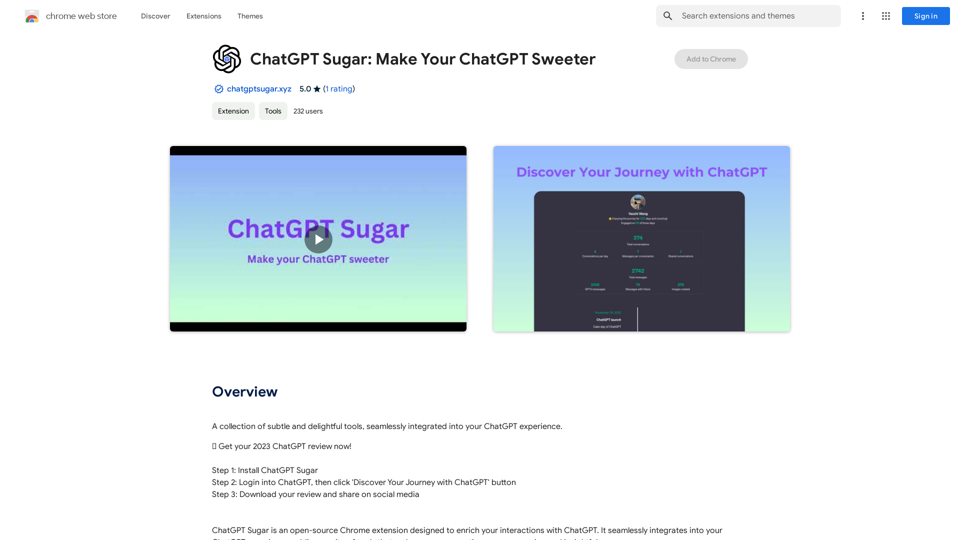
A collection of subtle and delightful tools, seamlessly integrated into your ChatGPT experience.
193.90 M
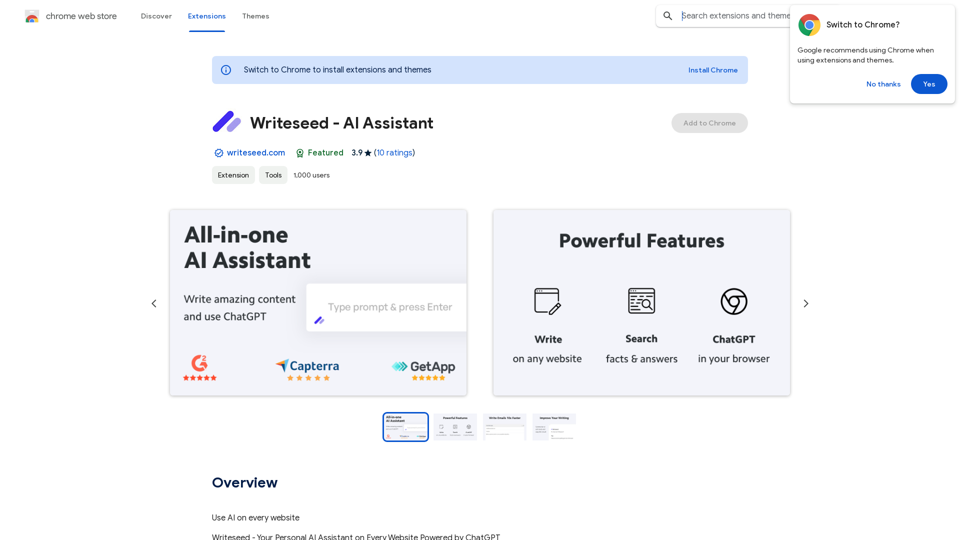
Using AI on Every Website With the rapid advancement of technology, Artificial Intelligence (AI) has become an integral part of our daily lives. From virtual assistants to self-driving cars, AI is revolutionizing the way we live and work. One area where AI can have a significant impact is on websites. Imagine a website that can learn from your behavior, adapt to your needs, and provide personalized experiences. In this article, we'll explore the possibilities of using AI on every website. Enhanced User Experience AI can analyze user behavior, preferences, and interests to provide a tailored experience. For instance, an e-commerce website can use AI to recommend products based on a user's browsing history and purchase behavior. This can lead to increased customer satisfaction, loyalty, and ultimately, revenue. Improved Website Performance AI can help optimize website performance by analyzing user traffic patterns, identifying bottlenecks, and providing insights to improve loading times. This can result in higher search engine rankings, increased conversions, and a better overall user experience. Personalized Content AI-powered content generation can help create personalized content for users based on their interests, preferences, and behavior. This can include customized product recommendations, tailored blog posts, and even personalized email marketing campaigns. Enhanced Security AI-powered security systems can detect and prevent cyber threats in real-time, providing an additional layer of protection for websites and their users. This can include identifying and blocking malicious traffic, detecting phishing attempts, and preventing data breaches. Chatbots and Virtual Assistants AI-powered chatbots and virtual assistants can provide 24/7 customer support, helping users navigate websites, answer questions, and resolve issues. This can lead to increased customer satisfaction, reduced support queries, and improved overall user experience. The Future of Web Development As AI technology continues to evolve, we can expect to see even more innovative applications on websites. From AI-powered design tools to AI-driven website analytics, the possibilities are endless. The future of web development is exciting, and AI is at the forefront of this revolution. Conclusion Using AI on every website can have a transformative impact on the way we interact with the internet. From enhanced user experiences to improved website performance, personalized content, enhanced security, and chatbots, the benefits of AI are undeniable. As technology continues to advance, we can expect to see even more innovative applications of AI on websites. The future is exciting, and AI is leading the way.
193.90 M
Here is the English translation: 📖 AI Story Generator (free, unlimited, no sign-up)
Here is the English translation: 📖 AI Story Generator (free, unlimited, no sign-up)Completely free & unlimited AI story generator/writer based on a prompt. No sign-up or login.
17.40 M
